Skullwall Blanket
For the sight textile assignment, I decided I would work on and finish my project Skullwall blanket. The project is based on the website skullwall.com. Created by Jay Zehngebot, the site aims at encouraging and inspiring young boys and girls to draw. The site invites you to draw a skull to be displayed on one webpage alongside all the other drawings, mimicking the skull walls of catacombs.
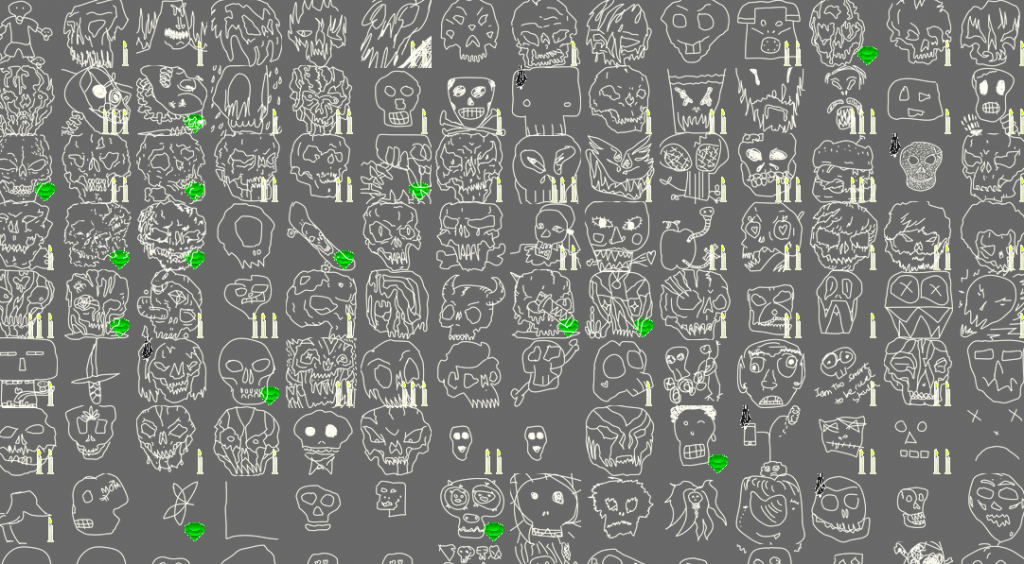
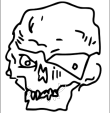

I had the idea to use the drawings for an embroidery project that would be a blanket with glow in the dark skulls, which would totally fit with the concept of the website project. I selected 25 drawings from the site and saved them in .svg files from illustrator. I opened them in the Stitch Era Universal software to transform them into stitches for the embroidery machine. I will soon post a tutorial on how to transform complex lines into stitches in SEU, so I will not go over too many details here.
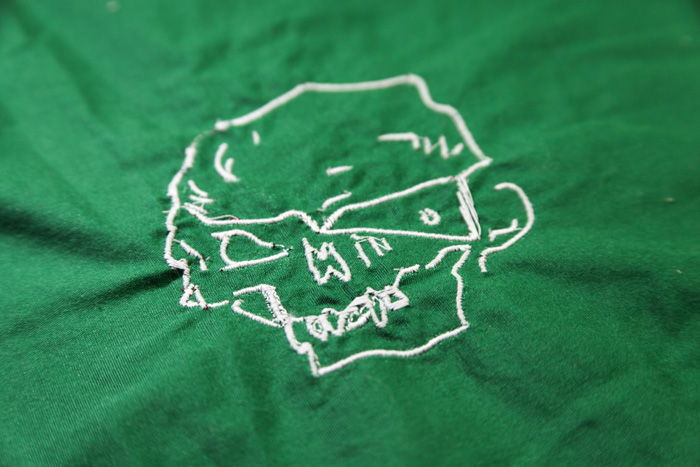
I first tested and corrected every single drawing using normal thread. It allowed me to trouble shoot on cheap textile and to get to know the machine and software without using the glow in the dark thread which is more expensive. I had to make a lot of correction for all of them. Retouching the stitches lines and the angles up to the point were they were at the right orientation.
I first tested and corrected every single drawing using normal thread. It allowed me to trouble shoot on cheap textile and to get to know the machine and software without using the glow in the dark thread which is more expensive. I had to make a lot of correction for all of them. Retouching the stitches lines and the angles up to the point were they were at the right orientation.
Once I was satisfied with the stitches patterns, I started to make tests with glow in the dark thread.
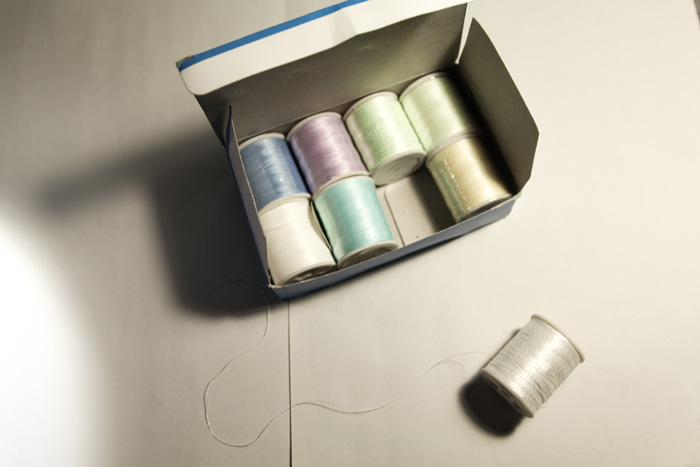
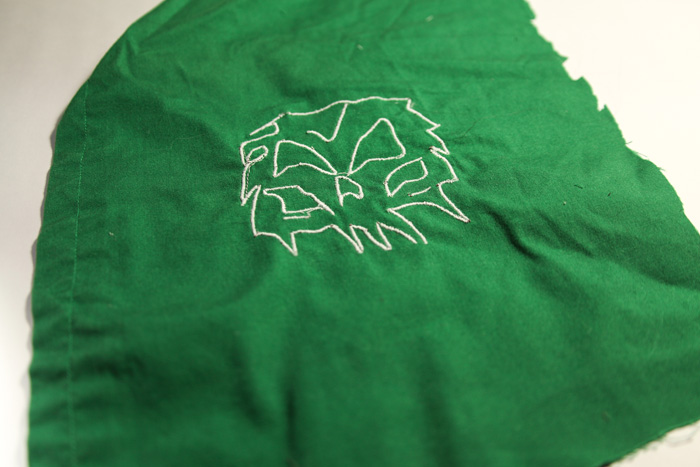
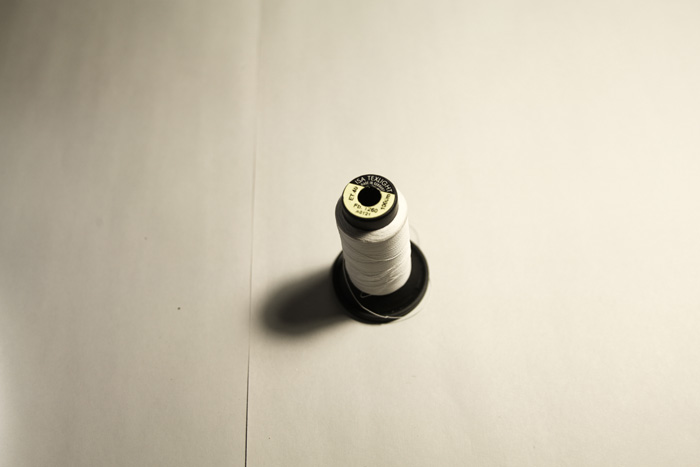
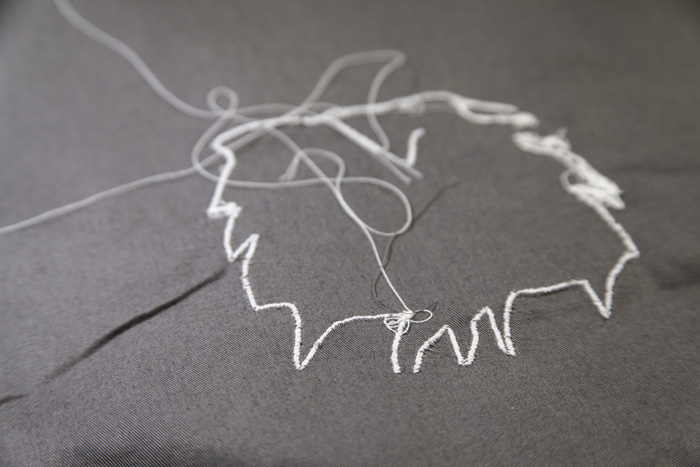
!!! The thread did not response the same way at all. The first thread that I tested was way too weak for the embroidery machine. It would work only with hand embroidery so I had to make some research to find a stronger thread. I found the Isa texlight thread from Germany. Stronger and used on embroidery machines.
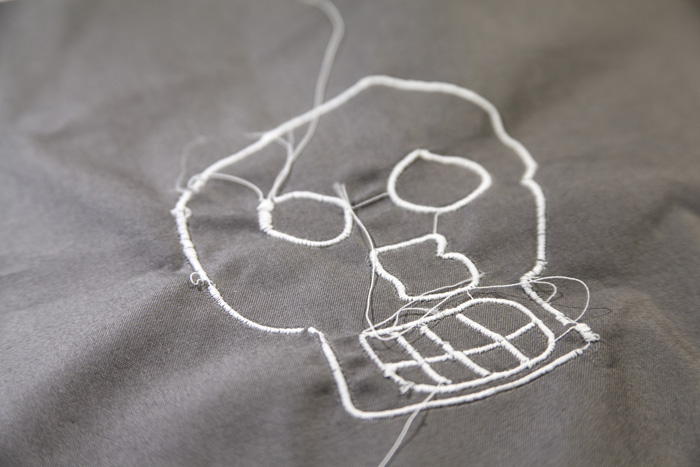
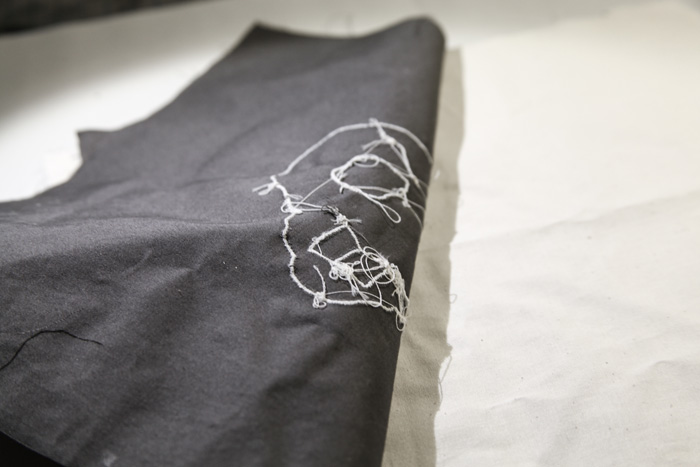
It worked better but would still get caught pretty often as you can see. The problem is the embroidery machine speed. On the Brother that we have, I cannot set the proper speed. Event the slowest speed is too fast which causes the thread to break and form nods underneath the fabric.

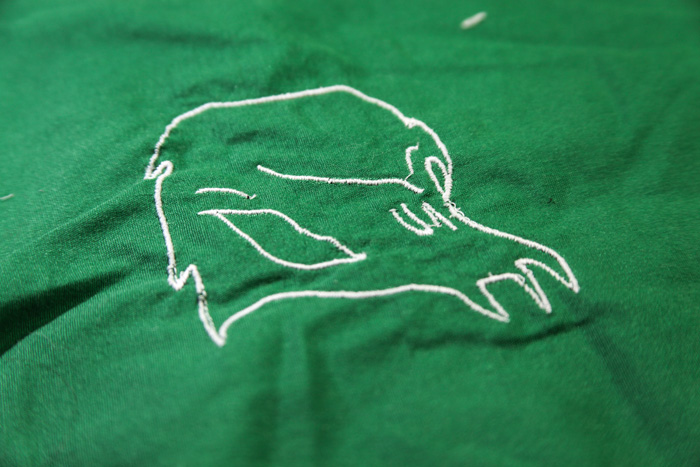
I made various tests and managed to make it kinda work. Because of the costs, I decided I would do the best I could with the thread and the machine and that I would finish and perfect the lines by hand embroidery.
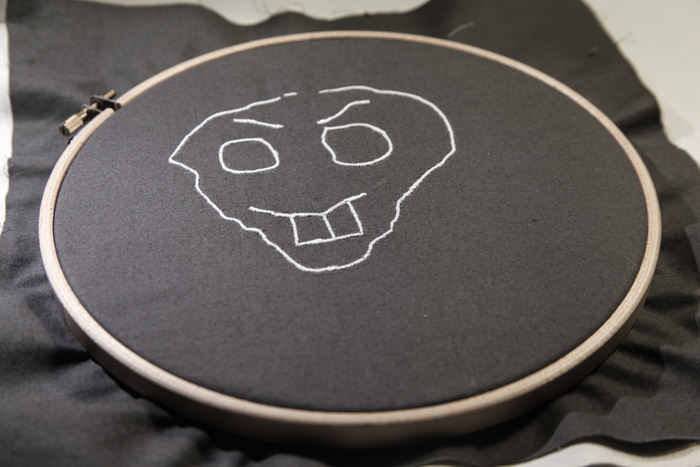
So I bought myself a loop and started to correct every single drawings by hand. I had planned on 25 images, but this process took so long for a single drawing that I decided to make only (!) 12. It looks way better after the correction by hand.
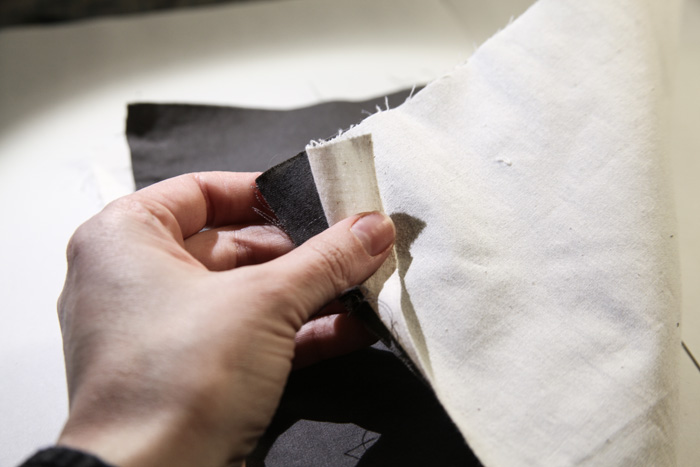
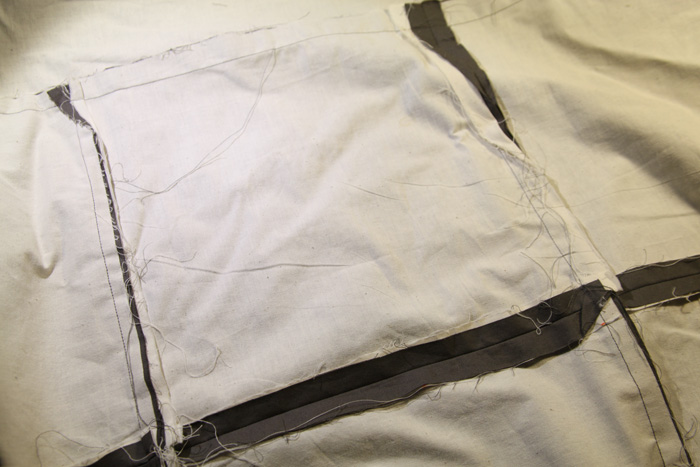
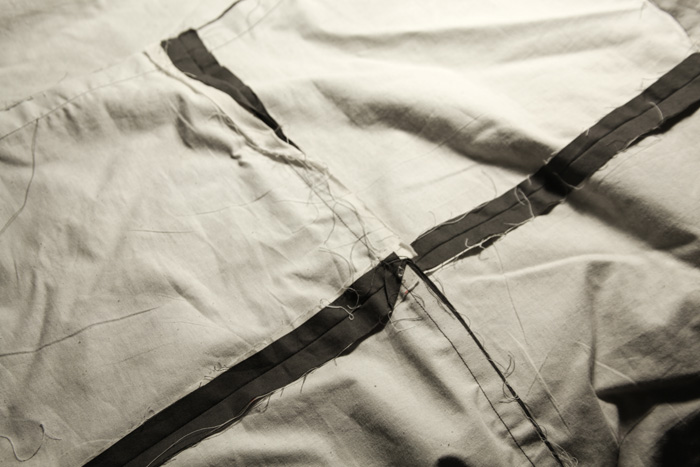
Then, I wanted to protect the bottom layer of the embroidery so it does not break. I did not know about interfacing when I embroidered with the machine, I am sure it would have help. So instead I use muslin to protect the embroidery.
Then I assembled the squares together in a quilt pattern. I finally managed to finish all the embroidery and assembly.
So much work but I am very happy with the result.
