Installing the Roland Modela
For the last six months, most of my work with circuitry has be related to setting up the circuit prototyping station.
My project Protective wearable led me to work with surface mount circuits. In the meantime Eric Rosenthal needed help to set up a circuit prototyping station at ITP. So I worked with him as a student researcher on the following:
Here is a summary of the Roland installation process.
My project Protective wearable led me to work with surface mount circuits. In the meantime Eric Rosenthal needed help to set up a circuit prototyping station at ITP. So I worked with him as a student researcher on the following:
- installing the Roland milling machine;
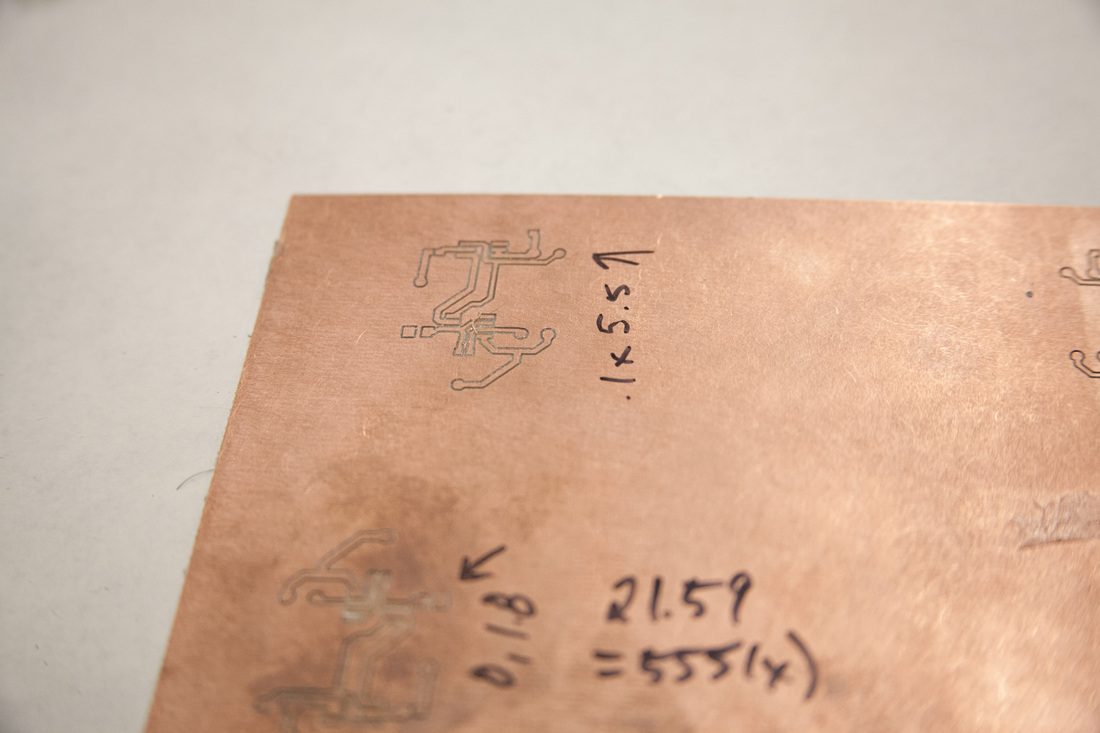
- creating tutorials for milling circuit boards;
- creating a tutorial for surface mount solder stencils;
- creating tutorials to set up the Roland for milling.
Here is a summary of the Roland installation process.
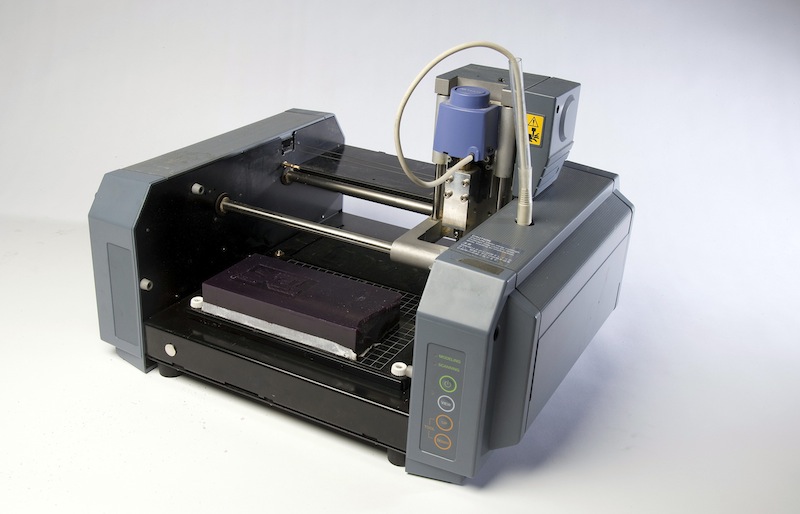
The Roland milling machine
The Roland Modela is the circuit milling machine used in most of the Fablabs part of the MIT network. The machine uses RML language to transform traces into paths for the milling. MIT developed a module out of python dependencies to uses it for circuit board milling, this is why most Fablabs use it for this purpose.
The Roland Modela is the circuit milling machine used in most of the Fablabs part of the MIT network. The machine uses RML language to transform traces into paths for the milling. MIT developed a module out of python dependencies to uses it for circuit board milling, this is why most Fablabs use it for this purpose.
PAJA tutorial
Michihito Mizutani created this tutorial before the Fab modules were developed. This tutorial shows how to use a DRC (Design rule check) and a ULP in Eagle to export files for the milling and the drilling of circuit boards.
I tested it in Eagle while resident Ben Light was installing the machine. We managed to have it worked. But here are some comments about this process option:
- There is a series of upload and file modifications to do so Eagle can run the ULP and the DRU properly. Once you have done those the process work but we thought there were a bit tedious.
- The process worked well with through hole circuits, but does not work well as soon as the board design is more complex. There are issues with the tolerance and the bit size. This has an impact on the board design and we thought we should try to use a better way to mill.
I anyhow adapted his tutorial for ITP.
The Fab modules
MIT Center for Bits and Atoms developed a set of modules to work with the Roland. It is called the Fab modules.
On OSX
As most of the students use Apple computers, I tried to install the fab modules on a Macbook pro. It did not work as it is getting more and more difficult to install that type of applications in OSX. The Fab modules installation instructions are not up to date and it was not possible for me to install it on a Mac.
On Ubuntu
I decided to make a little survey to see which operating system was the most used in the Fab Lab network.
Chigaco Fab Lab
Contact: Rabiah Mayas ([email protected])
They use the modules on Windows, but they recommended to use them on Ubuntu, as the Windows installation is very hard.
Fablab Manchester
Contact: [email protected]
They use the fab modules on Ubuntu.
AS220 Providence
Contact: James Rutter - cellphone: 408-728-4434, office: 401-831-9327 #203
They use the fam modules on a dual boot PC using Ubuntu. James said it was very easy and recommended we use this option.
Fab Lab Lima, Peru uses Ubuntu as well.
Installing the modules
Ubuntu first attempt
To make some tests without preventing people to use the Roland, we bought a pc on which I could install Ubuntu.
I installed Ubuntu from a usb with this tutorial. And it was very easy.
Then, I installed the dependencies needed to run the fab modules. It runs on Linux and it was to first time I installed stuff that way. It took a while to find the proper version of Python, error messages kept coming, but I found it after couple of tries.
Python
wxPython
NumPy
GCC and G++
libpng
GIFLIB
Make
BASH
Okular
Boost (headers, thread, and system library)
cmake
You can install all of the dependencies with the command:
sudo apt-get install python python-wxgtk2.8 python-dev python-pip gcc g++ libpng12-dev libgif-dev make bash okular libboost-thread-dev libboost-system-dev cmake
I tried to compile the modules, but it did not work. I kept having the same error:
/usr/bin/ld: libfab.a(fab.c.o): undefined reference to symbol 'sqrtf@@GLIBC_2.0'
/lib/i386-linux-gnu/libm.so.6: error adding symbols: DSO missing from command line
I then asked a linux programmer the have a look, Gal Gasson. He managed to compile the modules on his computer. I did not have the right compiler version and we did not find why my version did not work. It is most likely because the Fabmodules version is older and it needs a old version of Linux compiler. So Gal compiled the files on his computer and it worked.
Here are the steps to install the pre-compiled files on Ubuntu in Terminal:
| fab_modules.tar.gz |
1 - Unzip the pre-compiled package:
# tar -xzf fab_modules.tar.gz
2 - Modify the .bashrc
Access and modify the .bashrc with this command:
#nano ~/.bashrc
3 - Then add the line "export PATH=$PATH:/home/itp/Desktop/fab_modules/bin"
(*edit this line so it fits with the location of yor bin directory on your computer)
I managed to run the fab modules on the computer. Now I needed to try it on the computer connected to the Roland.
Installing dual boot and Ubuntu
We decided to install the dual boot on the computer that was already connected to the Roland, so we would not have to reinstall the Roland software on the Windows side. Resident Ben Light had issues installing the Roland software so we wanted to prevent to have to do it again. So I backed up the data and partitioned the drive.
Backing up the hard drive
To make sure we would not loose any of the work that was done on the computer, I decided to back up the entire computer using a system image. Here is the tutorial.
Partition the drive
Then, I needed to partition the hard drive to allow space for Windows 7 and Ubuntu.
I used this tutorial. The partition and installation worked fine.
Installing the Fab modules
I reinstalled the fab modules on this computer using the same steps as before, using the precompiled modules from Gal.
Connecting the computer to the Modela
To send data from to modules to the Modela, I needed to make sure the Modela and the computer could have an handshake. To do so, I needed to find on which USB port the Modela is connected.
To know if the computer recognize the usb port on which the Modela is connected, I used gtkterm.
Once the connection was confirmed, I gave the computer the authorization to send data through the port with this command:
sudo chmod 777 /dev/ttyUSB0
Now, the computer is be able to communicate with the Roland directly through the USB Port. We might have to reenter this command sometimes, when the computer has been used on the Windows side and we want to use it again on the Ubuntu modules.
Milling circuits
Here are some tips on milling with the Roland from the Fablab network.
When I started to make tests with circuits, something weird was happening. The paths were clearly wrong.
I tried with the old version of the Fab modules from a file sent by AS220. I also tried with the latest version installed from the pre compiled files by Gal. The same problem was happening.
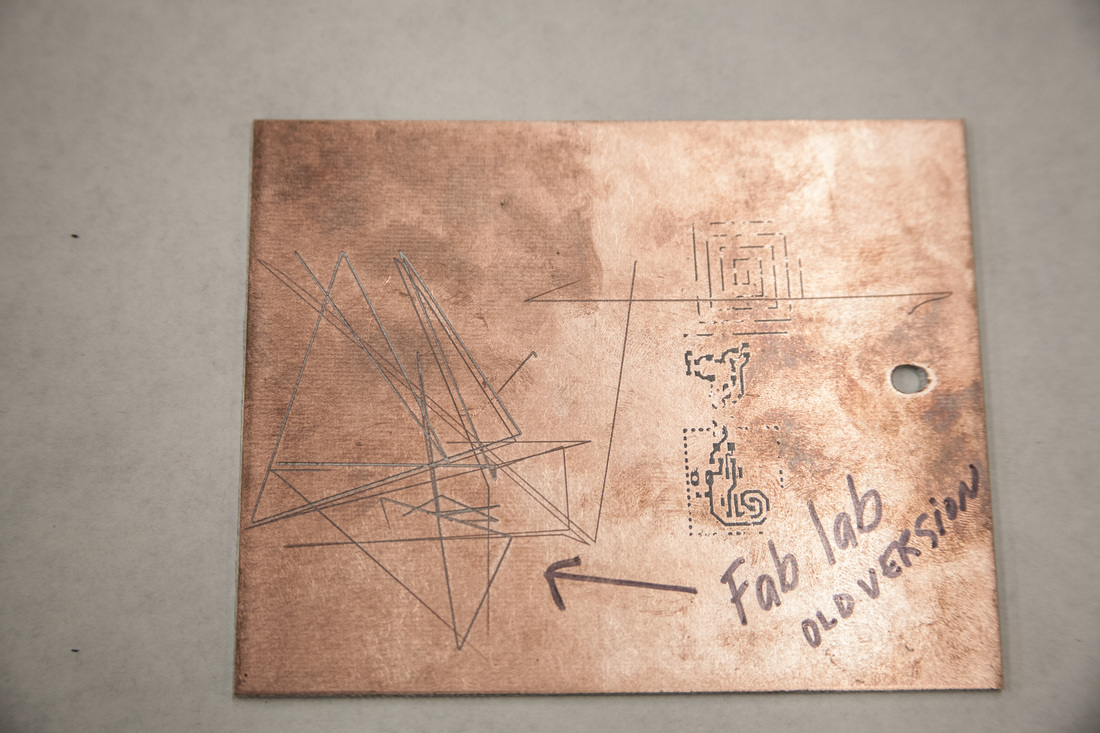
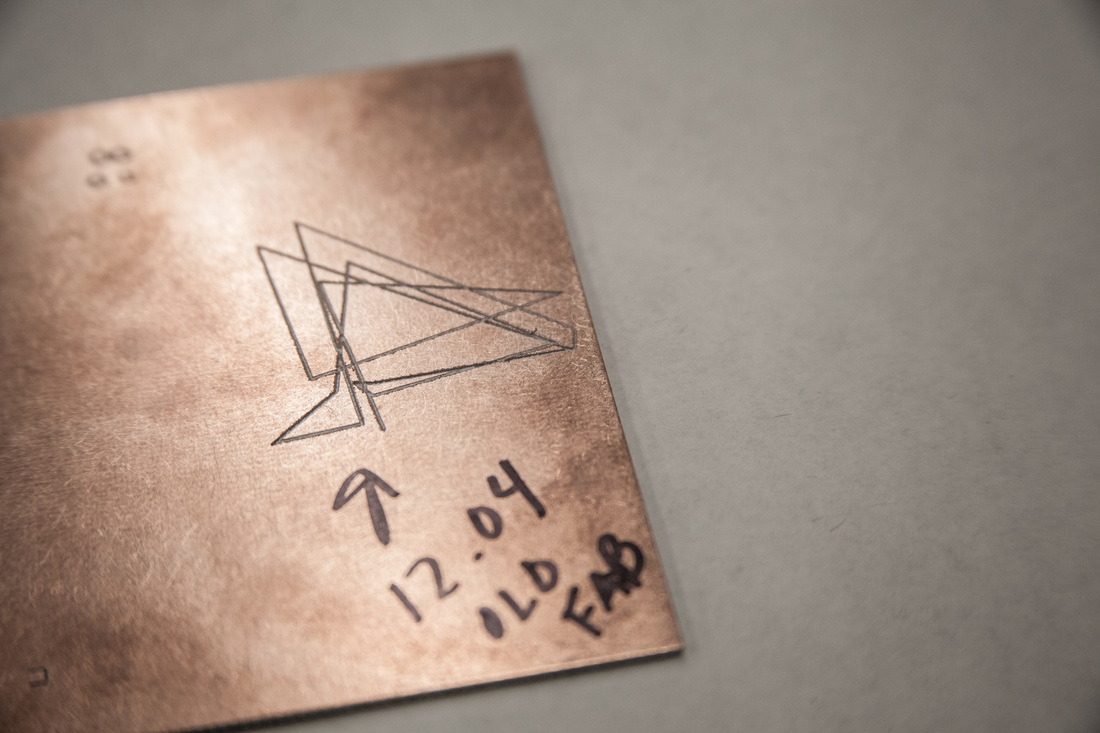
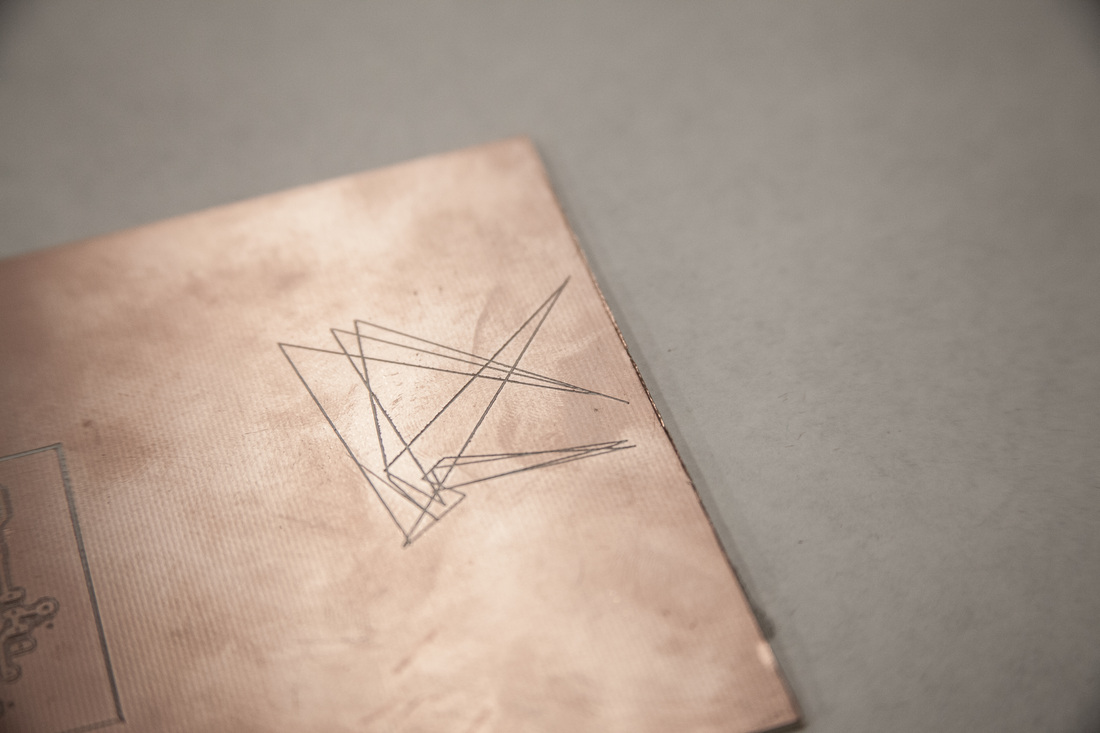
The paths generated were clearly not right. I though it was in the modules so we tried several versions.
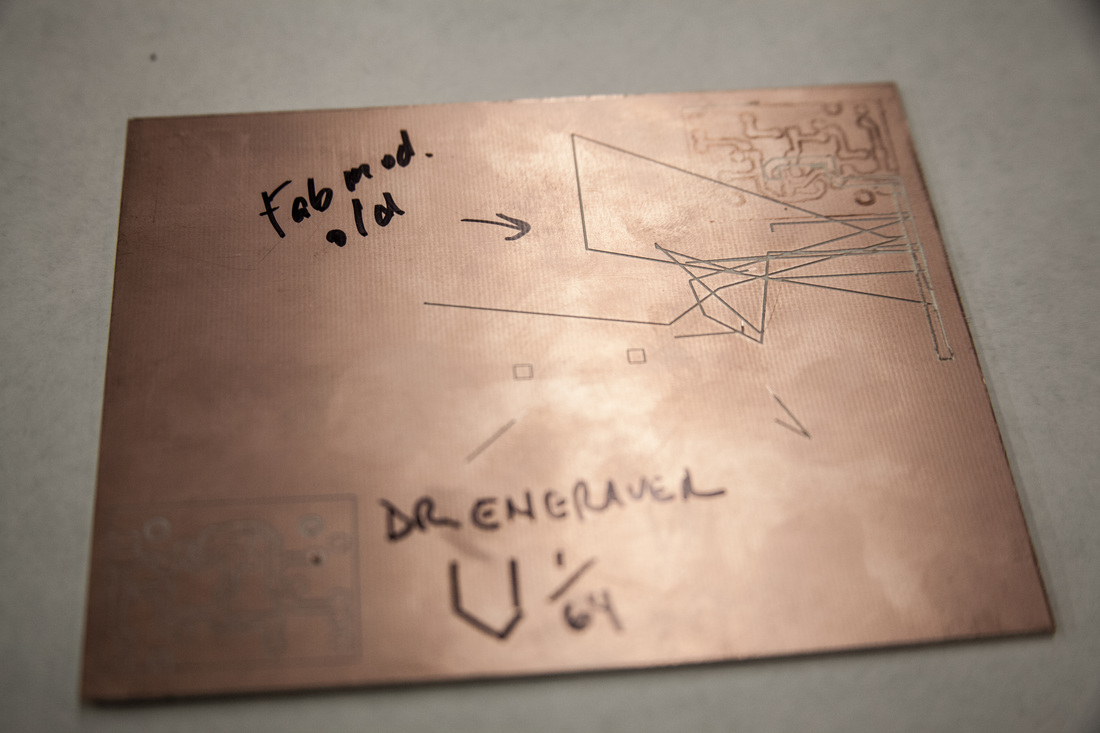
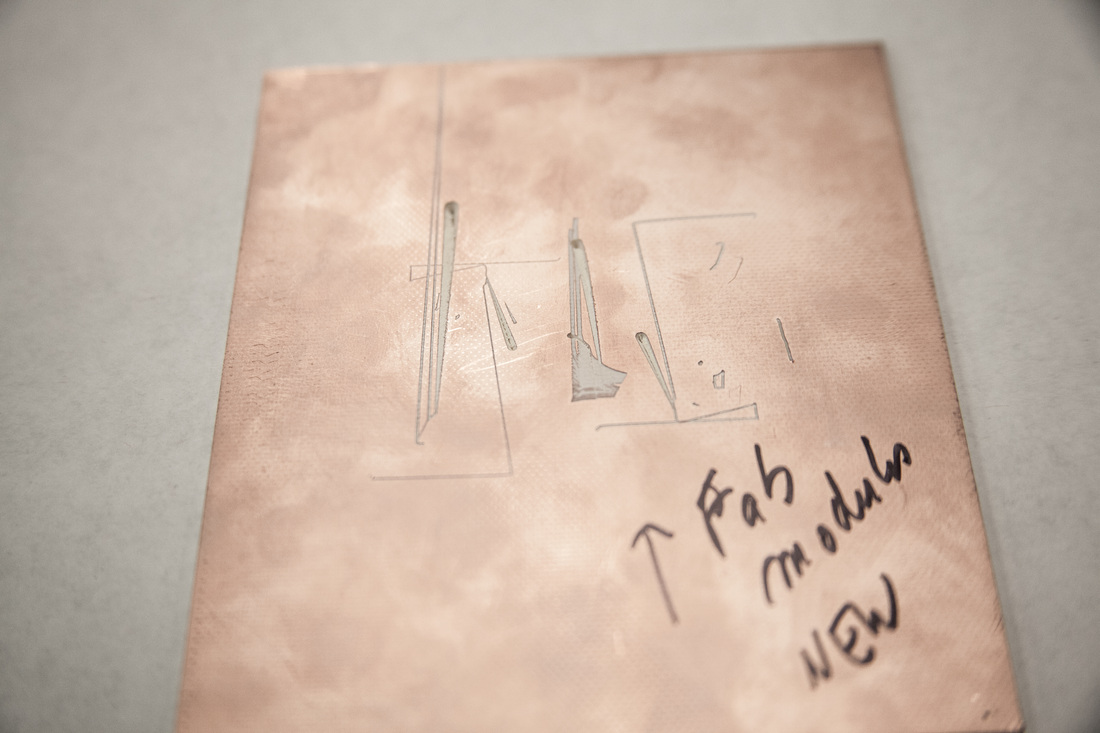
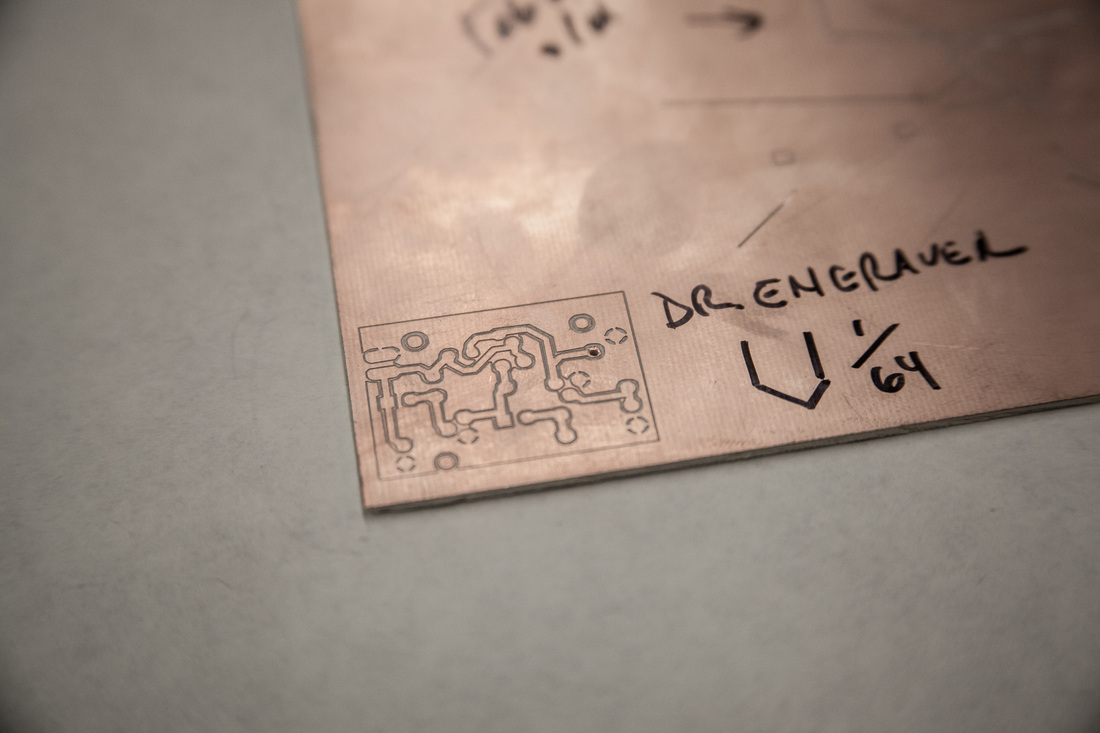
We tried with the Roland software called Dr. Engraver and it worked well.
We tried with the Roland software called Dr. Engraver and it worked well.
Problem in sending the file to the Modela
This gave me the idea to check if it was in the sending that the problem was.
So I checked if the baud rate of the computer was the same as the Roland and it was, so that was not the problem.
Than I searched for an application that would allow me to take the file generated by the Fabmodules and send it to the Roland.
I also contacted Mishihito and he confirmed he had the same problem!!! He told me he uses the Fab modules to generate the files in Ubuntu, then switches to Windows to send them to the Roland.
So we use DropOut in Windows to send the files to the roland.
And it works perfectly well!
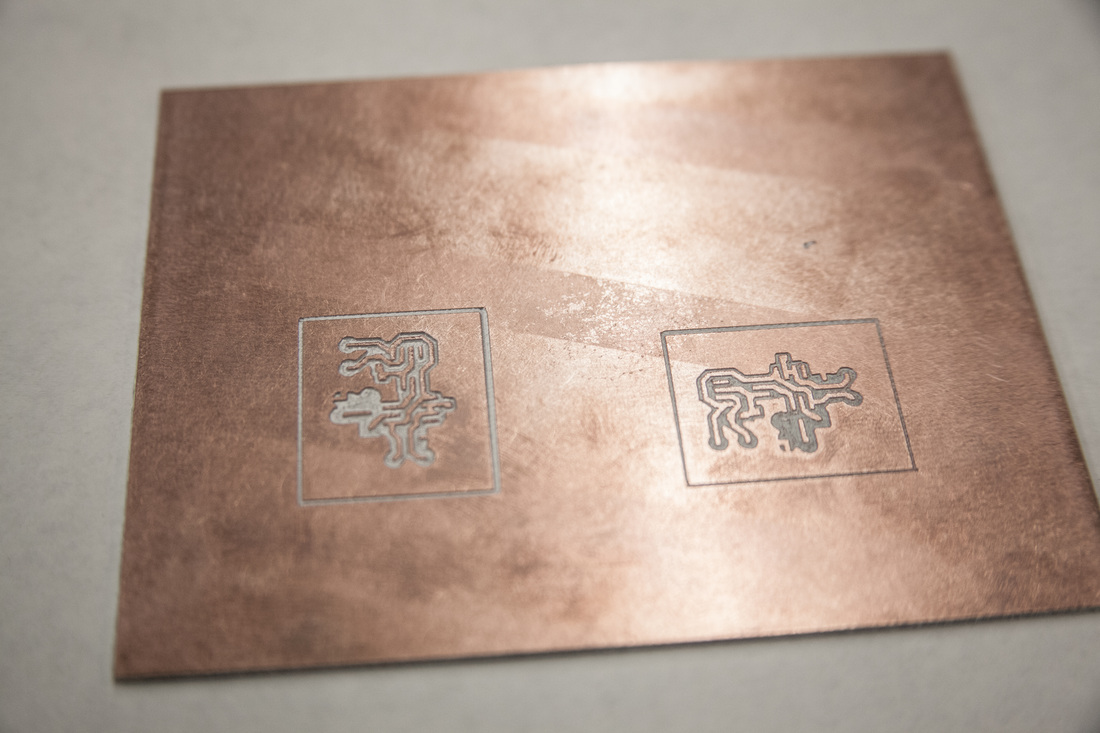
I created two tutorials to mill circuits:
- On Ubuntu and the Fab modules;
- In Eagle.
