Printing form a 3D scan
This explains how to create a printable object from a 3D scan at a very low cost.
Step 1: Scanning the body
Option 1: On a PC, download a free version of Reconstruct me. And use a Kinect to complete the scan. (instructions to come).
Option 2: Use 123d catch to create a 3D rendering from pictures.
Step 2: Cleanning the mesh
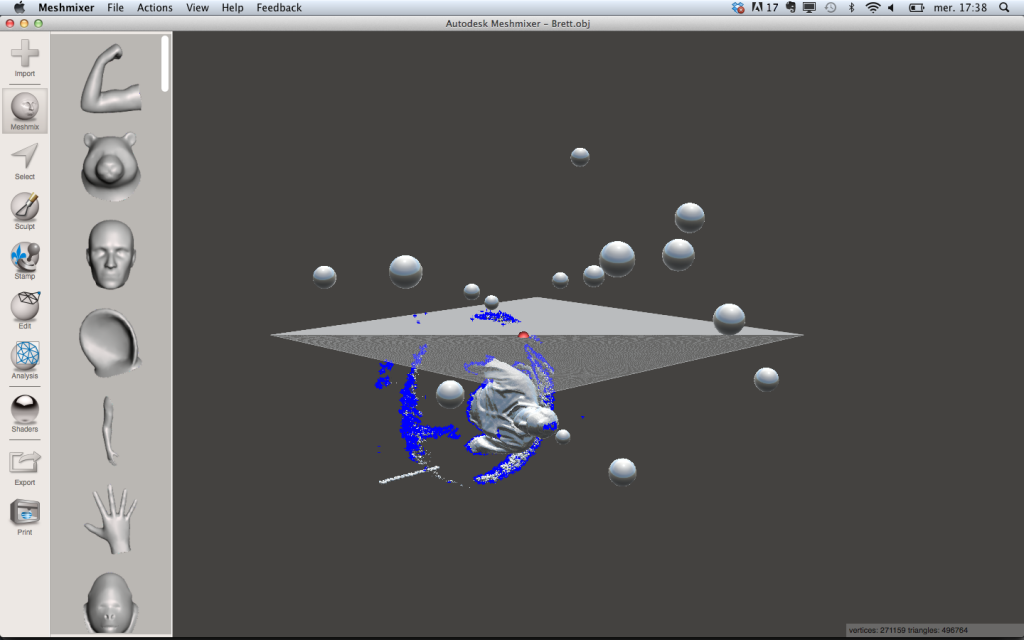
Upload the .obj file in Meshmixer.
Step 1: Scanning the body
Option 1: On a PC, download a free version of Reconstruct me. And use a Kinect to complete the scan. (instructions to come).
Option 2: Use 123d catch to create a 3D rendering from pictures.
Step 2: Cleanning the mesh
Upload the .obj file in Meshmixer.
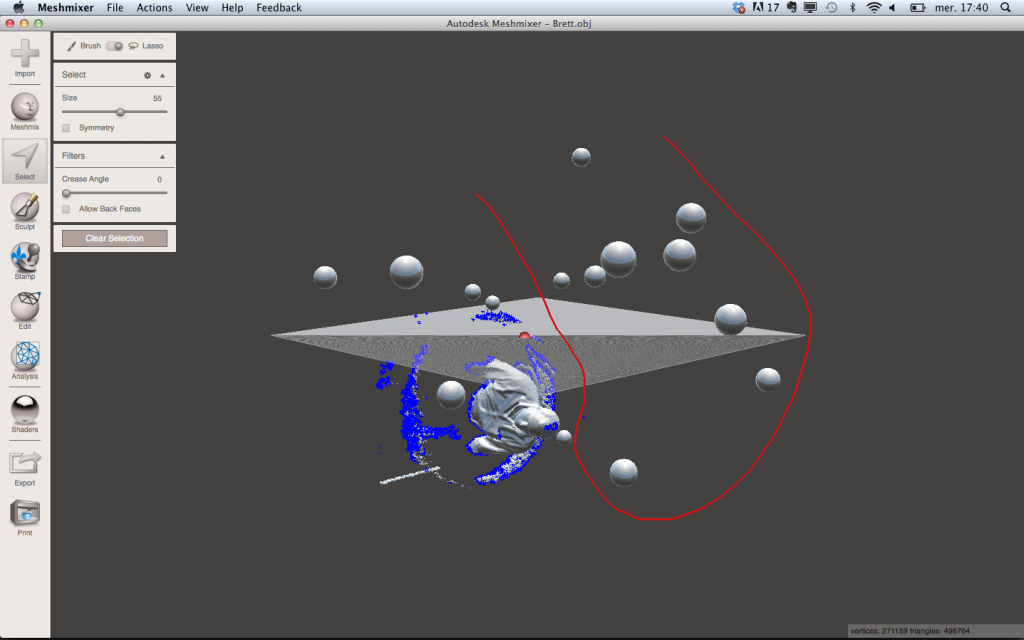
In the Select menu, choose the “lasso tool” to select the meshes to erase. Press “X” to delete.
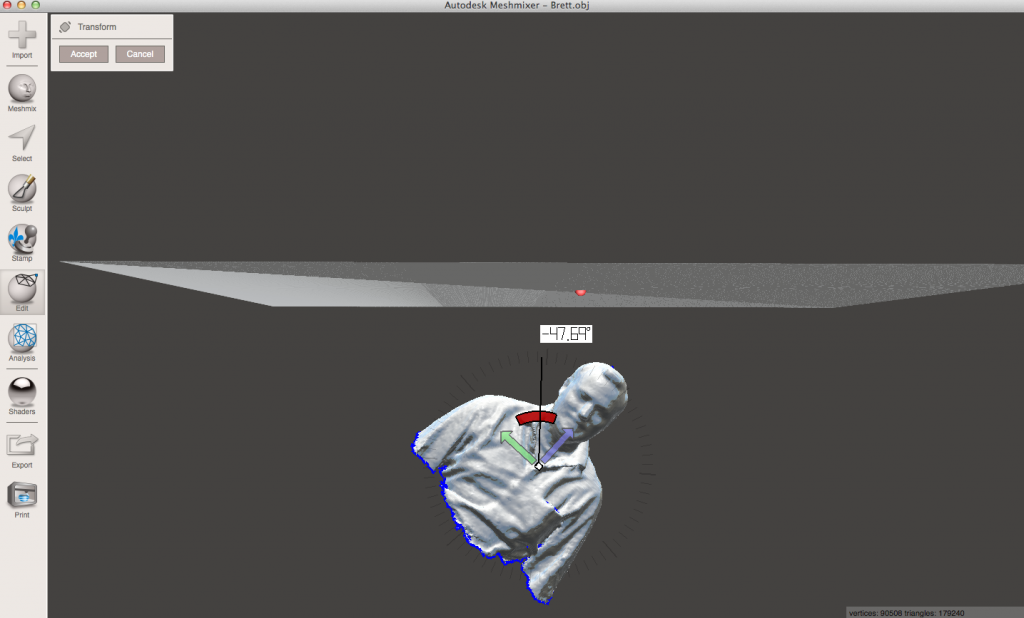
In the Edit menu, click “transform” to get the manipulator. Use the manipulator to move the meshes at the proper place on the grid and accept the change.
Clear the bottom on the mesh using the “lasso tool” and pressing “X” to delete.
To clean holes in the shape, use the “brush tool” to select the edge of the hole.
To clean holes in the shape, use the “brush tool” to select the edge of the hole.
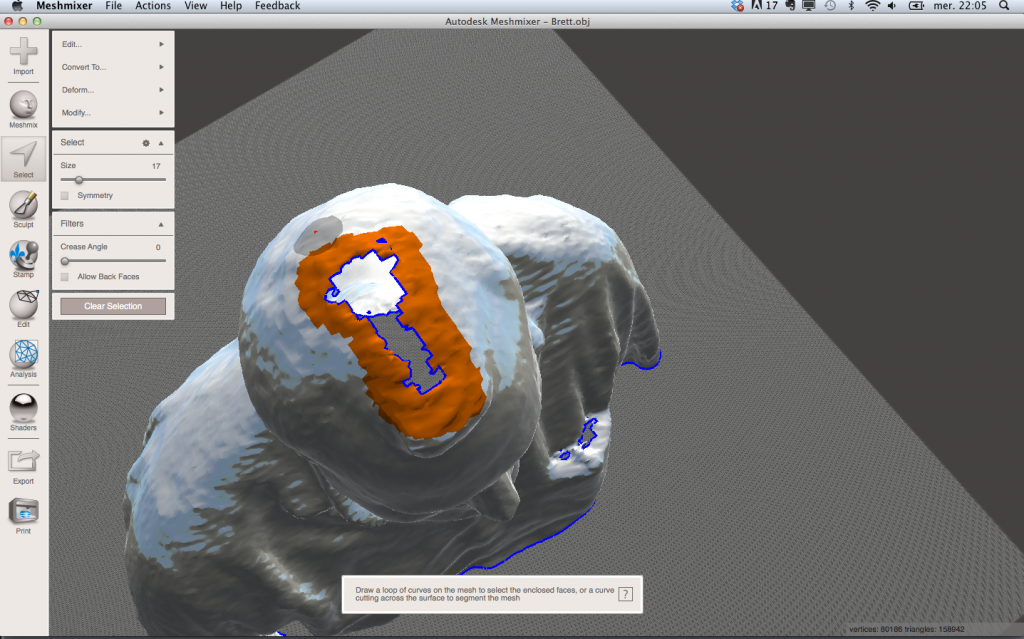
In the menu that will appear after the selection is complete, select Edit… and then “erase and fill” or press “F”. Then accept and clear selection.
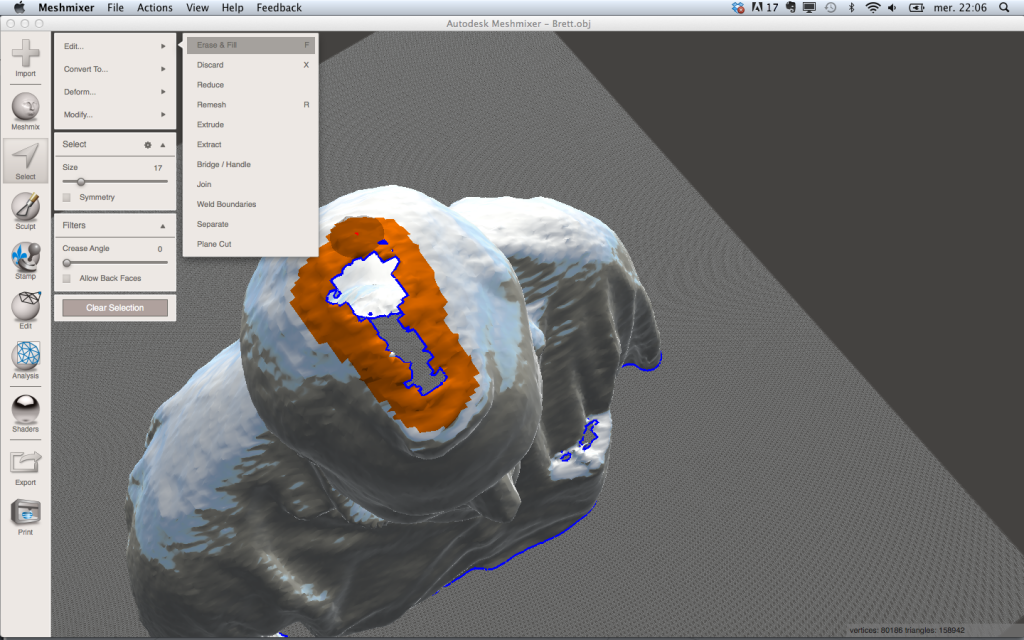
The top of the head is now filled. There might be some holes, but we can fix them later too.
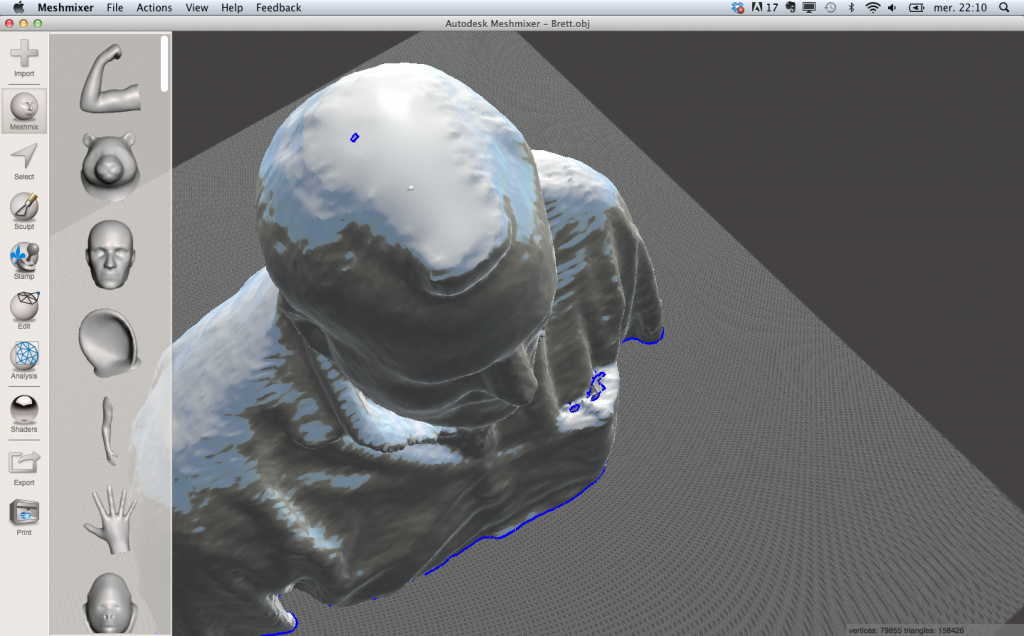
Export the file as an .obj.
Step 2: Creating a closed mesh.
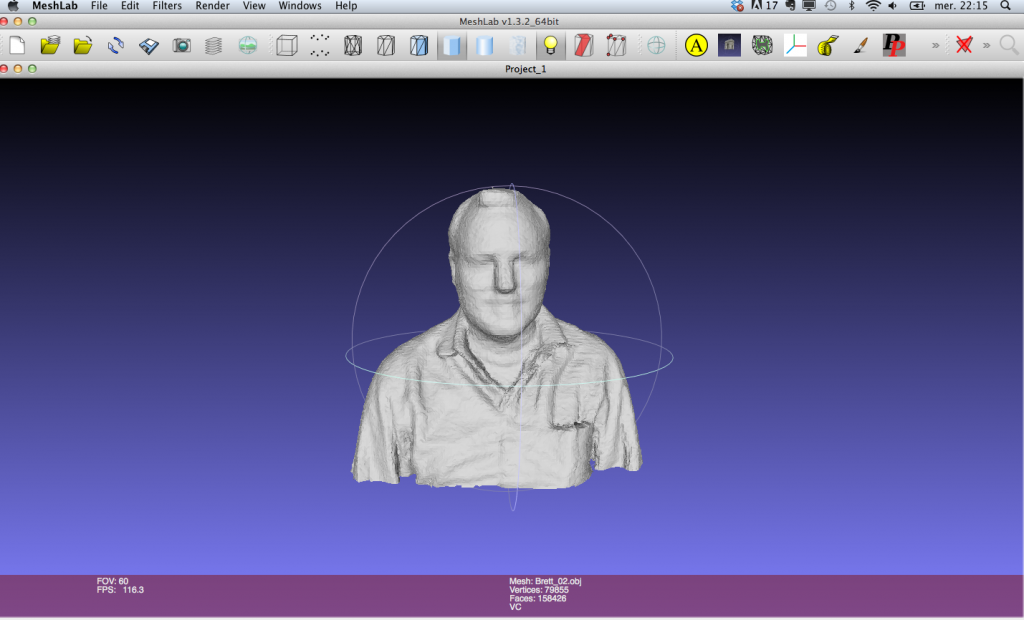
Download and open Meshlab. Import the mesh from the File menu.
Step 2: Creating a closed mesh.
Download and open Meshlab. Import the mesh from the File menu.
Then, go in the Filters menu and scroll down to “Remeshing, Simplification and Reconstruction”, and select “Surface reconstruction: Poisson”.
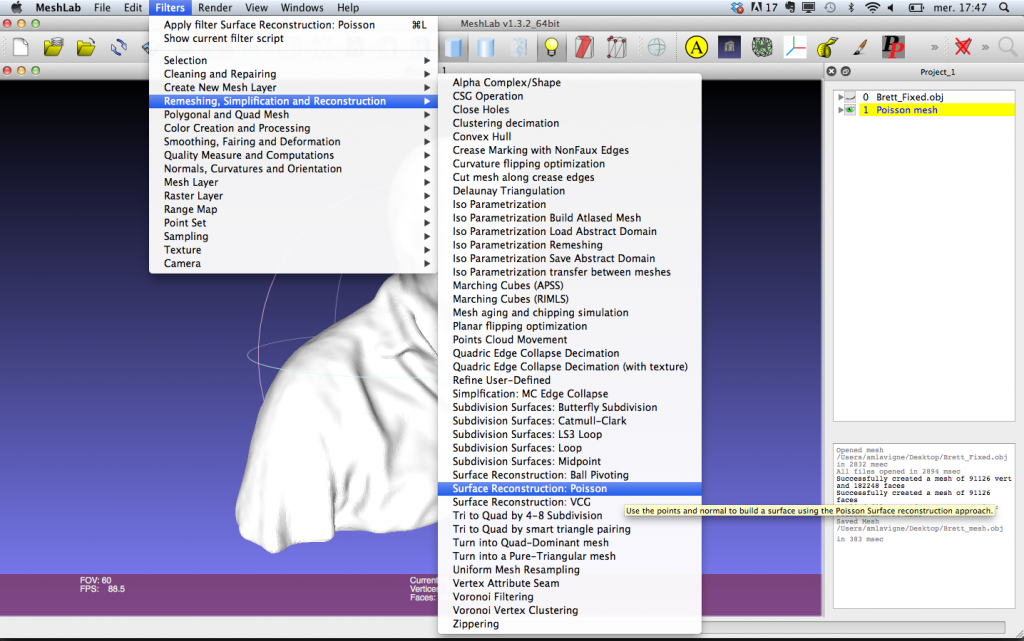
change to octree depth to 9 or 10, depending on resolution wanted. I just tried 30 and it froze my computer, so be careful. Then in the layer menu (the icon is a stack of layers), hide the mesh imported to show only the mesh created.
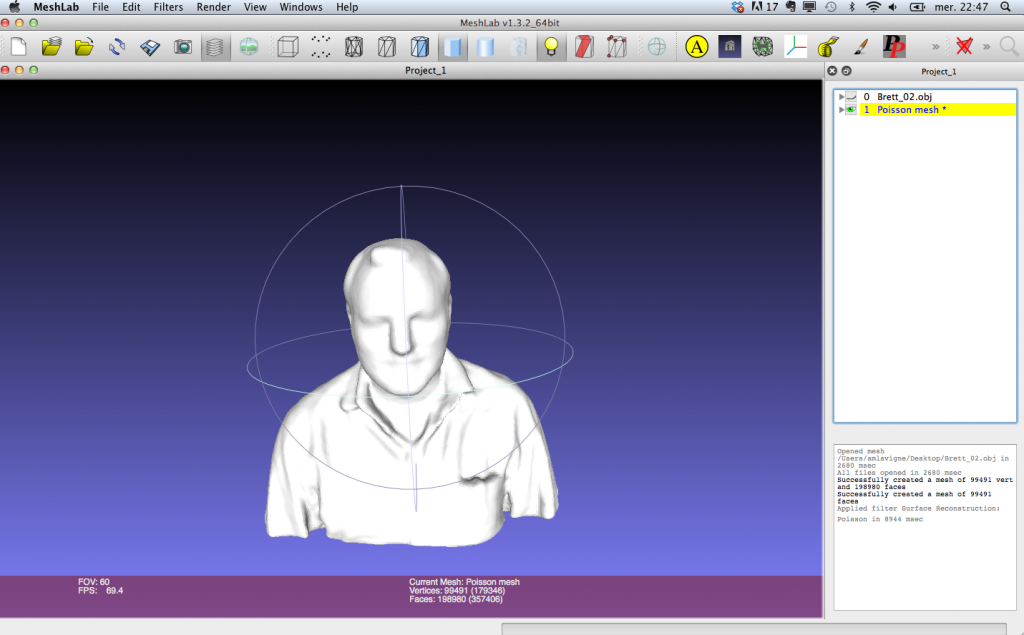
Export mesh as an .obj.
Step 3: Modifying the geometry
Import the file in Blender. The object might be super big and far from the grid. Zoom out to find it. Then bring it back to the grid using the manipulator.
Step 3: Modifying the geometry
Import the file in Blender. The object might be super big and far from the grid. Zoom out to find it. Then bring it back to the grid using the manipulator.
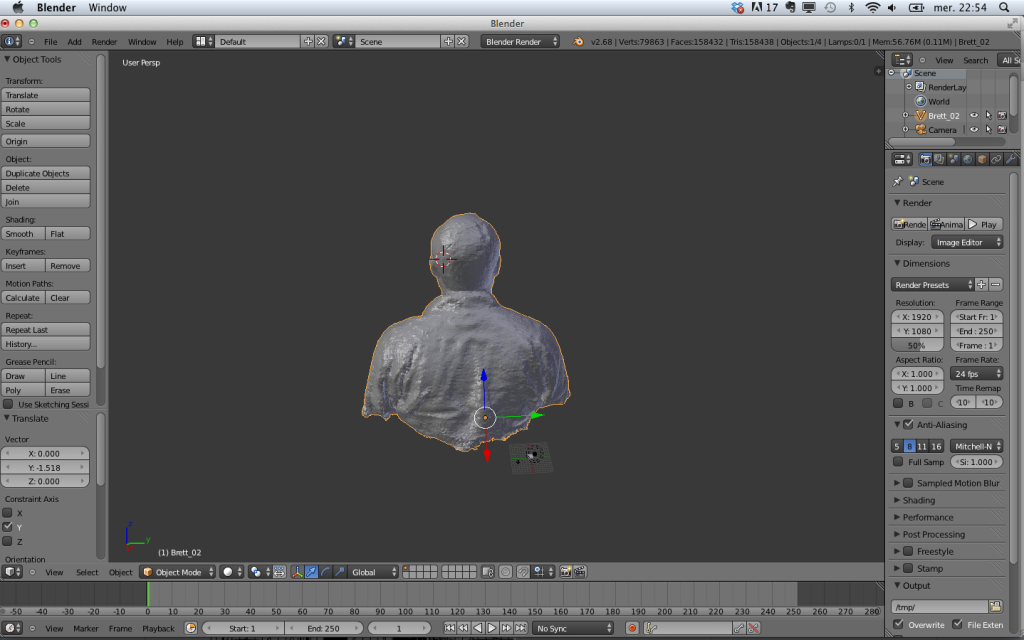
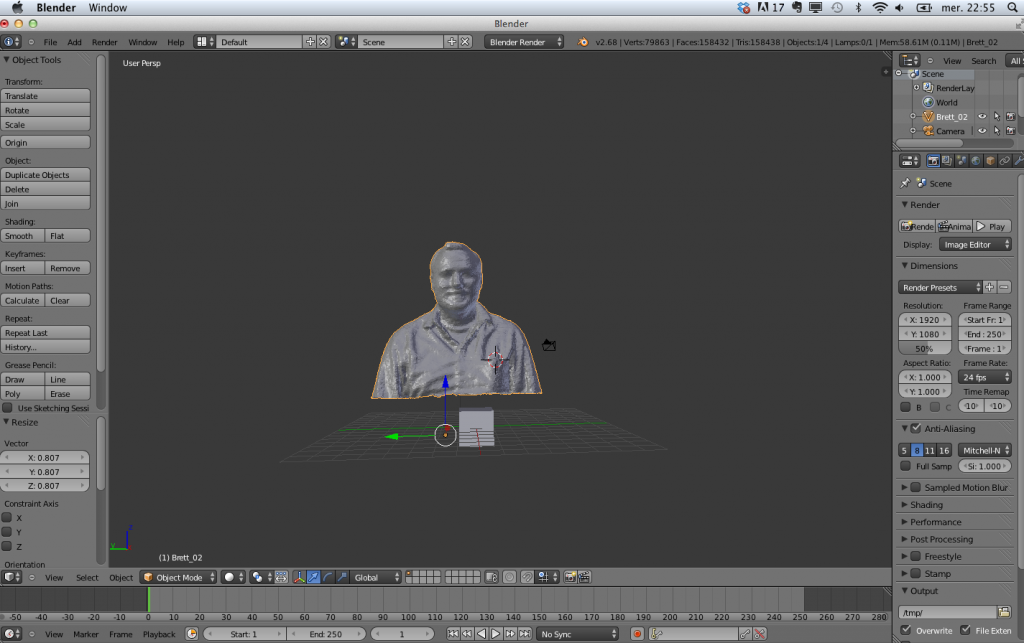
Then you can modify the geometry. Add details, or deform, etc. Export the file as a .stl or
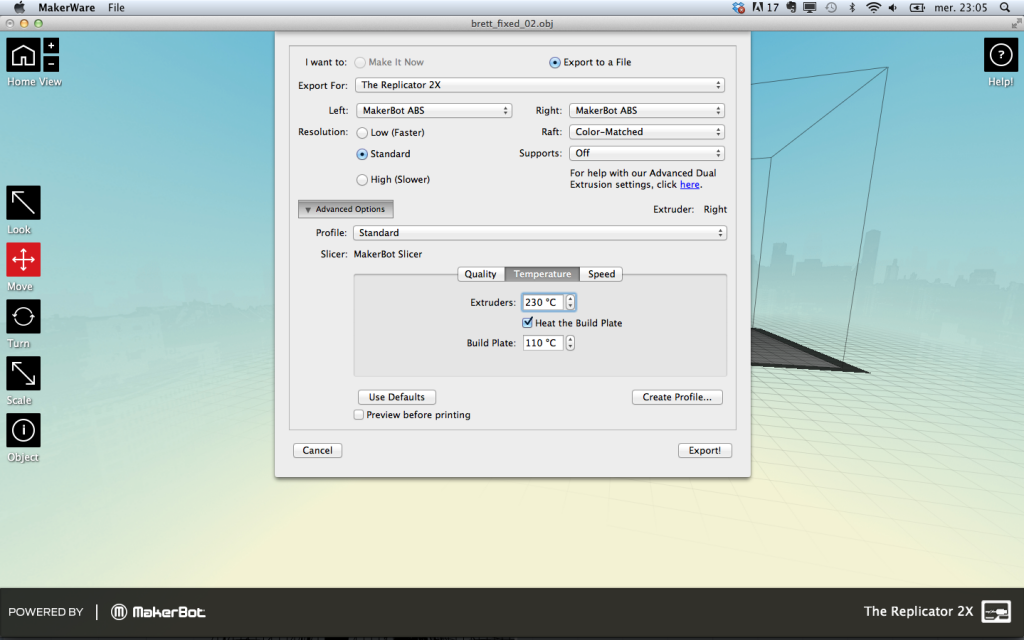
Step 4: Printing the file
Download and import Makerware. Scale the object to the size you want to print. Choose Uniform scale to make sure it scale 3D.
Step 4: Printing the file
Download and import Makerware. Scale the object to the size you want to print. Choose Uniform scale to make sure it scale 3D.
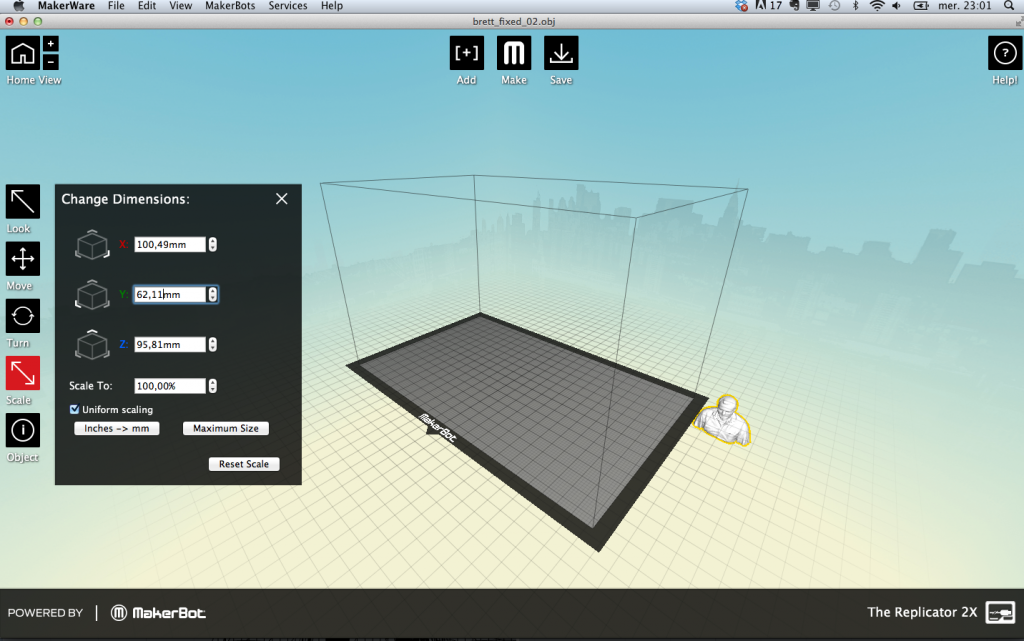
Then rotate and move it to put it on the platform (on platform and center). Now click on “M” to Make and prepare the file. Make sure to select the proper Makerbot model and that the build surface is heated.
Put the file on the SD card and insert in Makerbot. Then select “Print from SD card”.
