Origami Fabric #1
I wanted to create a blanket made of etched acrylic pieces. On those pieces I would be etch a pattern and be glued a fabric canvas.
Research
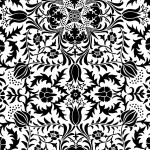
I was inspired by old fabric patterns from the 16th, 17th, 18th and 19th centuries. We could see some of them at this MET exhibition Interwoven Globe, The Worldwide Textile Trade 1500-1800. I contacted the Museum to ask if I could base this work on one piece from the exhibition. I also contacted the FIT Museum and asked for an academic research appointment. I wanted to use a real pattern for the first prototype.
Research
I was inspired by old fabric patterns from the 16th, 17th, 18th and 19th centuries. We could see some of them at this MET exhibition Interwoven Globe, The Worldwide Textile Trade 1500-1800. I contacted the Museum to ask if I could base this work on one piece from the exhibition. I also contacted the FIT Museum and asked for an academic research appointment. I wanted to use a real pattern for the first prototype.


I transfered the patterns in illustrator to create vector files.

Laser cutter tests
To draw the textile pattern on the plexis, we have to use the Raster mode. It “etches” the program on the material. Here are the settings I tried. They ended up being all similar.
speed 100%, power 50%, focus standard
speed 100%, power 50%, focus brighten
speed 100%, power 40%, focus standard
speed 100%, power 30%, focus standard
speed 95%, power 65%, focus standard
speed 95%, power 50%, twice.
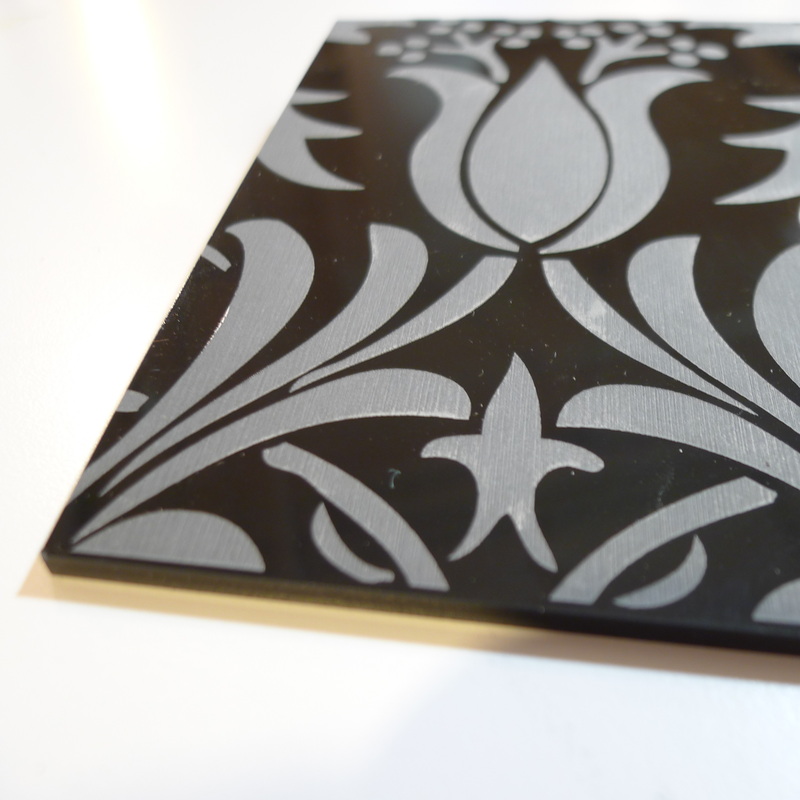
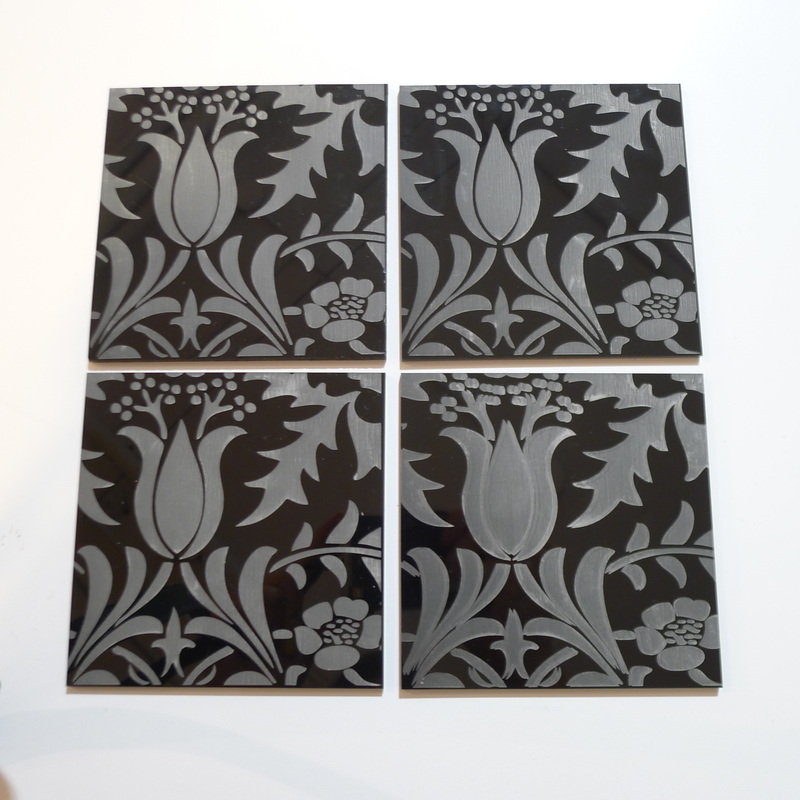
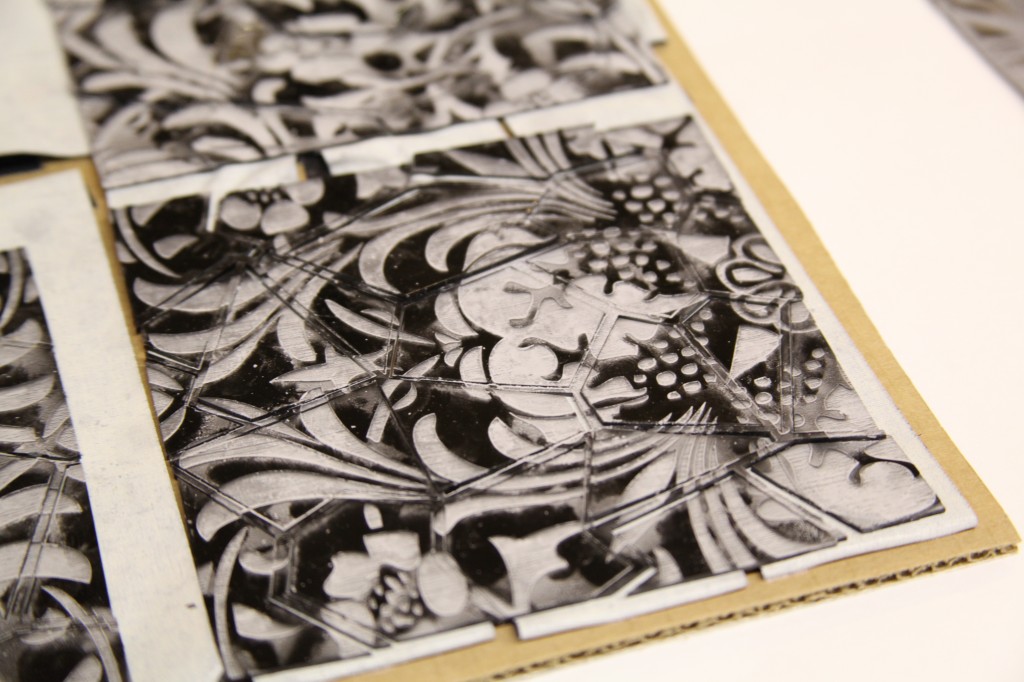
After the rastering tests I previously did, I decided to go with 1/16 plexis. The rastering cannot go very deep, so if I use thinner plexis, the contrast seems more apparent.
The problem was then that thin plexis reacts very strongly to the heat of the laser cutter. I tried rastering a full sheet of 12×12, but it bent half way through. So when the laser cutter reached the last quarter of the sheet, it was not flat anymore and the laser head hit it. So I stop the job. I then tried to raster smaller sheets, 6×6 inches. If I raster a section of 6×6 in the middle of the sheet, it is fine. It does not bend nor brakes. But I I do it at the corner of the sheet, it brakes very easily as you can see:
The problem was then that thin plexis reacts very strongly to the heat of the laser cutter. I tried rastering a full sheet of 12×12, but it bent half way through. So when the laser cutter reached the last quarter of the sheet, it was not flat anymore and the laser head hit it. So I stop the job. I then tried to raster smaller sheets, 6×6 inches. If I raster a section of 6×6 in the middle of the sheet, it is fine. It does not bend nor brakes. But I I do it at the corner of the sheet, it brakes very easily as you can see:
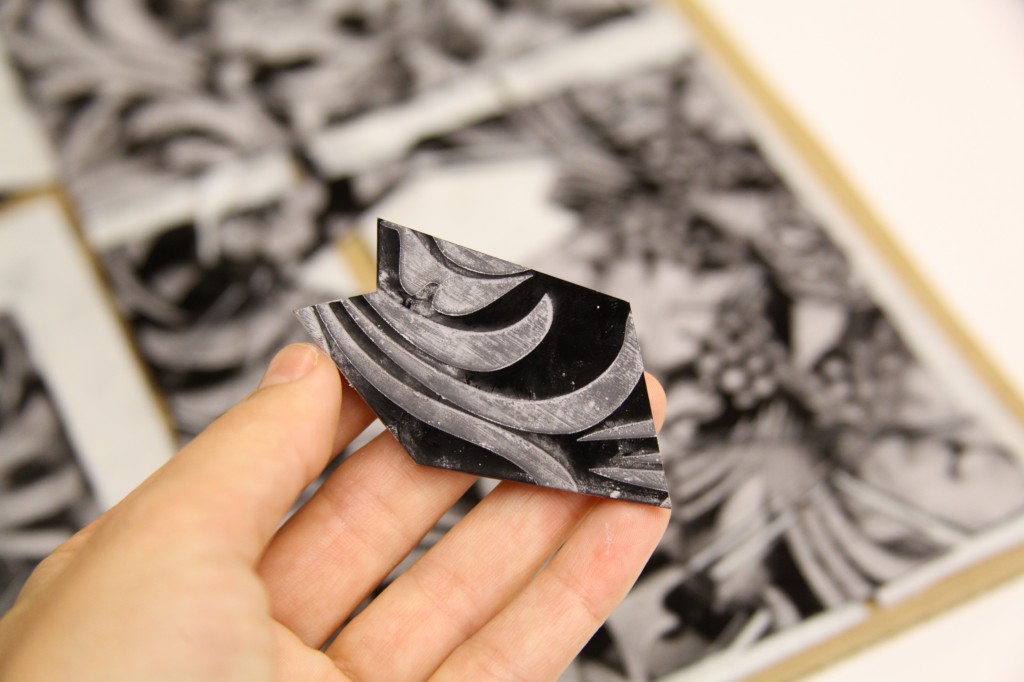
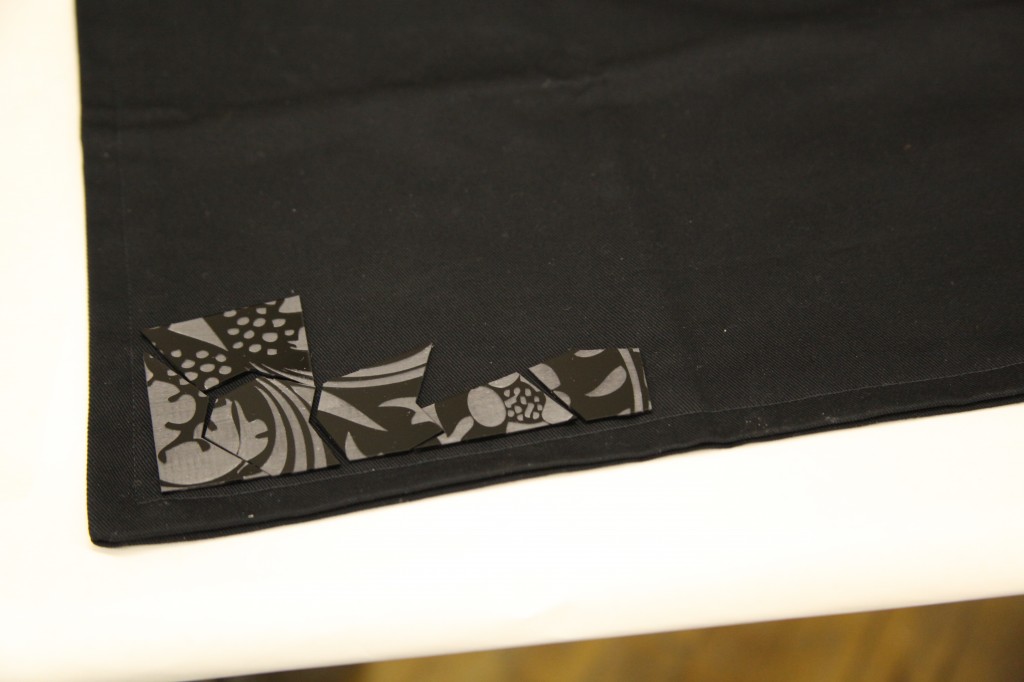
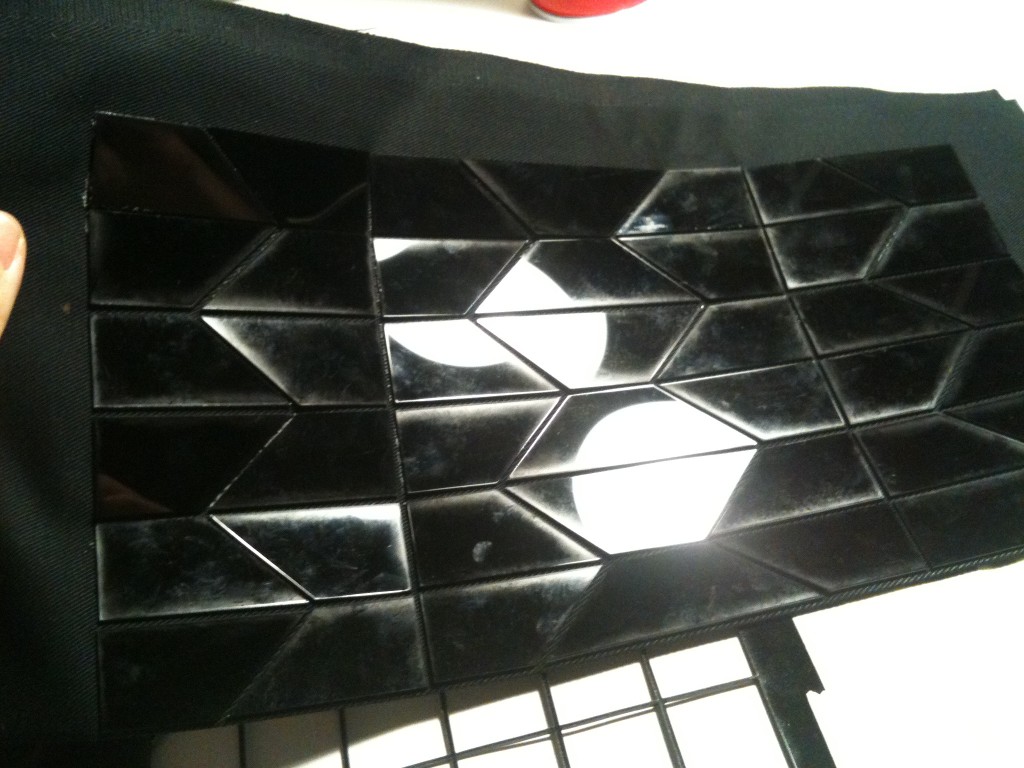
So I did several jobs, separating the 12×12 pattern into small parts. I wanted to make sure the plexis would stay flat because I wanted to cut it into small pieces after the rastering. I made some attempts, until I realized I could totally cut BEFORE I raster! So, the part of plexis that I raster, is smaller, and does not suffer from the heat when the laser is on another part. So that worked, as you can see:
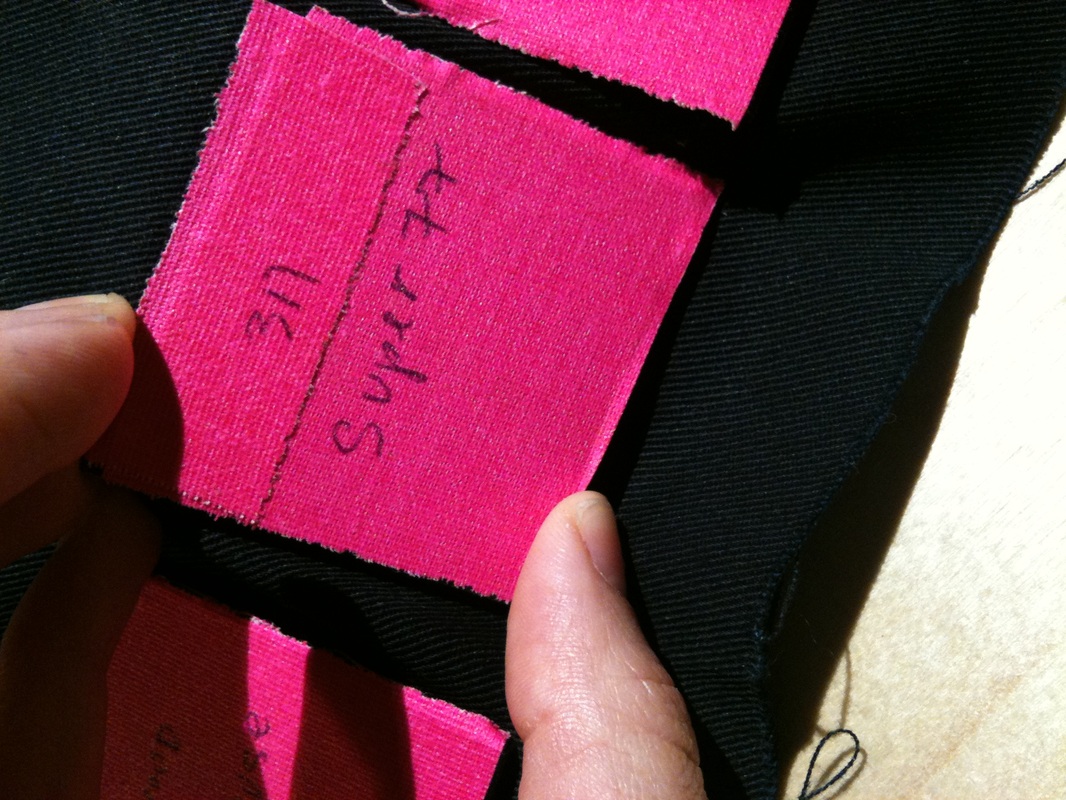
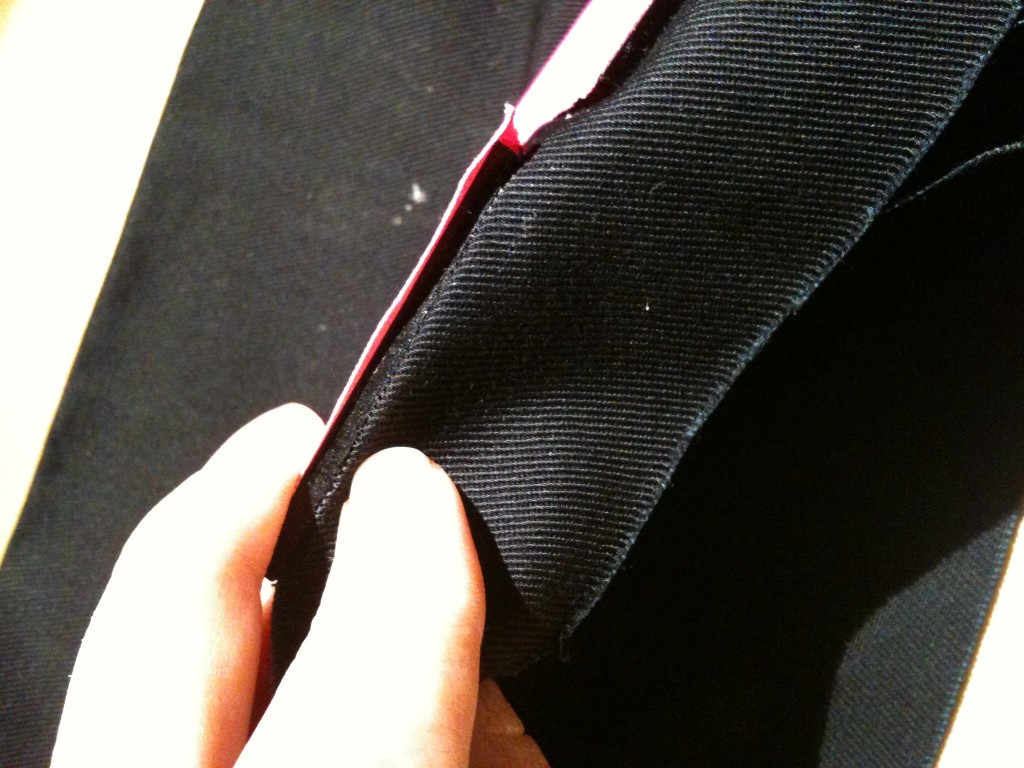
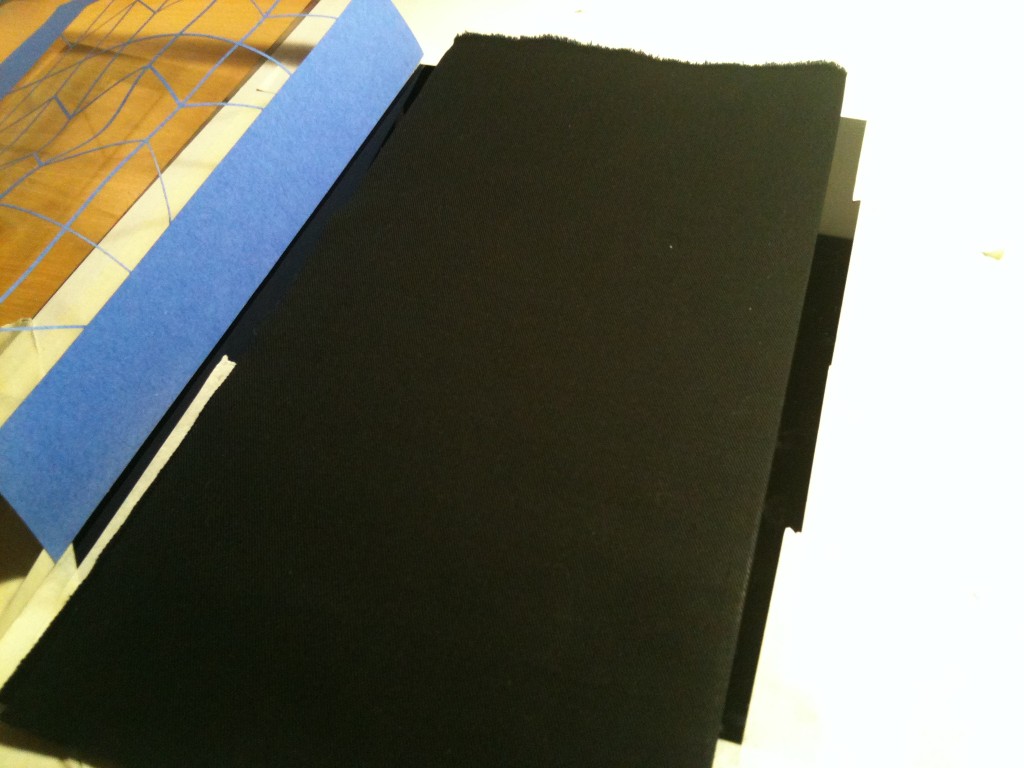
Then, I glued those parts on a 12×12 piece of fabric that I prepare.
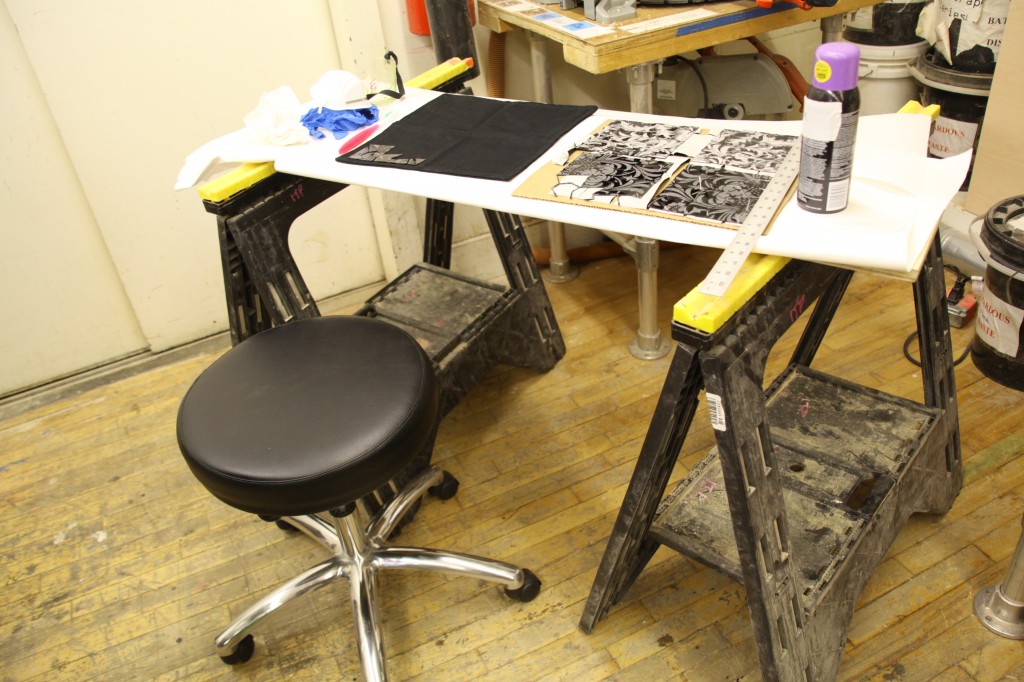
I used the 3M 77 spray glue, which is the best one for plexis on fabric after some tests that I did:
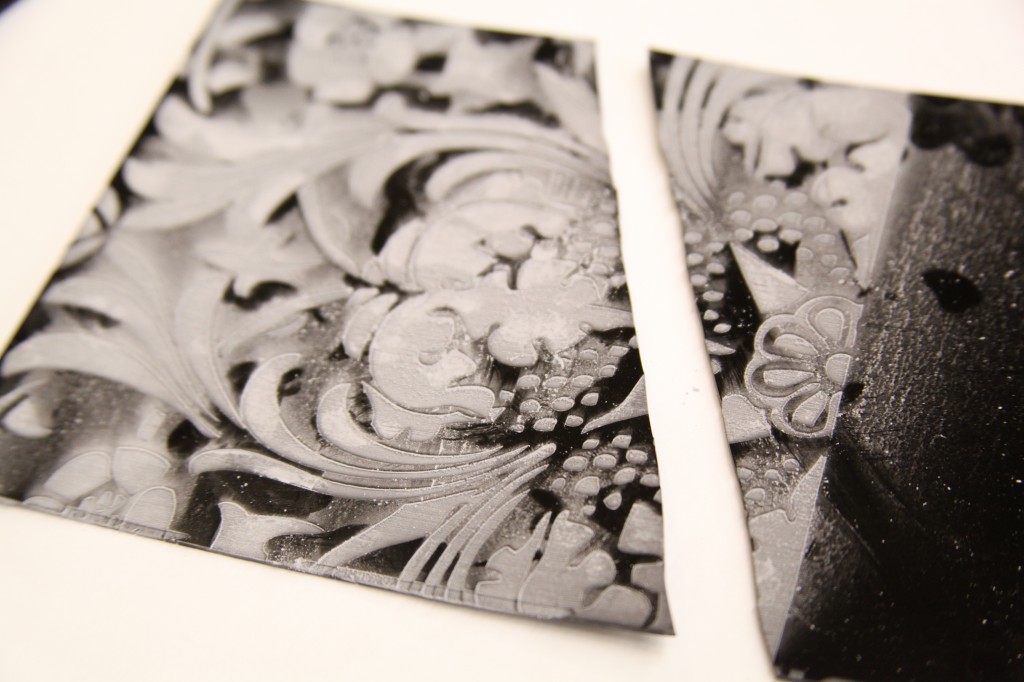
This was a total nightmare as :
- glue leaked on all the surfaces and the parts ended up with some glue on the surface that was rastered;
- I did not have a pattern model so I had to guess where they were going. I had to guess the distances between each part;
- so I made some mistakes (some pieces ended up too far apart, creating “wholes” in the pattern). So, I had to cover for those mistakes by adding smaller parts that were not in the original cut pattern. Which disrupted the similarity or the various sections;
- I made a mistake and placed the 4 different 6×6 sections in the wrong order, so the rastered pattern was modified.
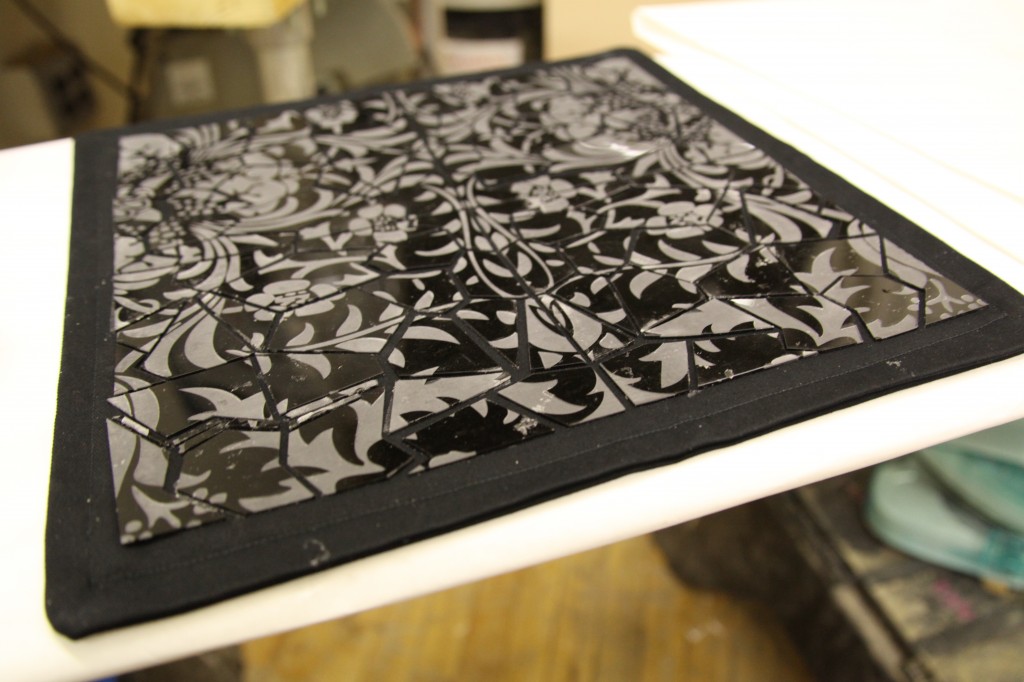
Although I made some mistakes, the prototype functions as a proof of concept.
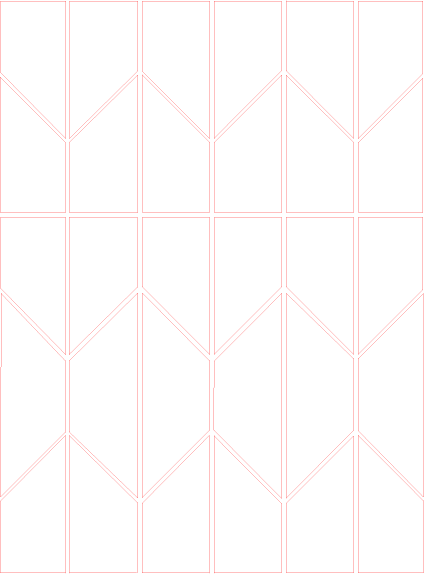
I was really inspired by the Miura pattern. It was invented by a engineer for solar sails. With this fold, the sails can be open can closed using only 2 corners. Here is the version I decided to work with:
- the plexis on the fabric allows mobility of the parts and create some interesting shapes.
- the glue functions and I can continue working with it. I would have to find an industrial glue though, because if the edges are to pointy, it detaches from from the fabric.
I was really inspired by the Miura pattern. It was invented by a engineer for solar sails. With this fold, the sails can be open can closed using only 2 corners. Here is the version I decided to work with:
I laser cut the pieces leaving a large area on either side of the pattern to prevent the thin 1/16 sheet of acrylic to bend with heat.
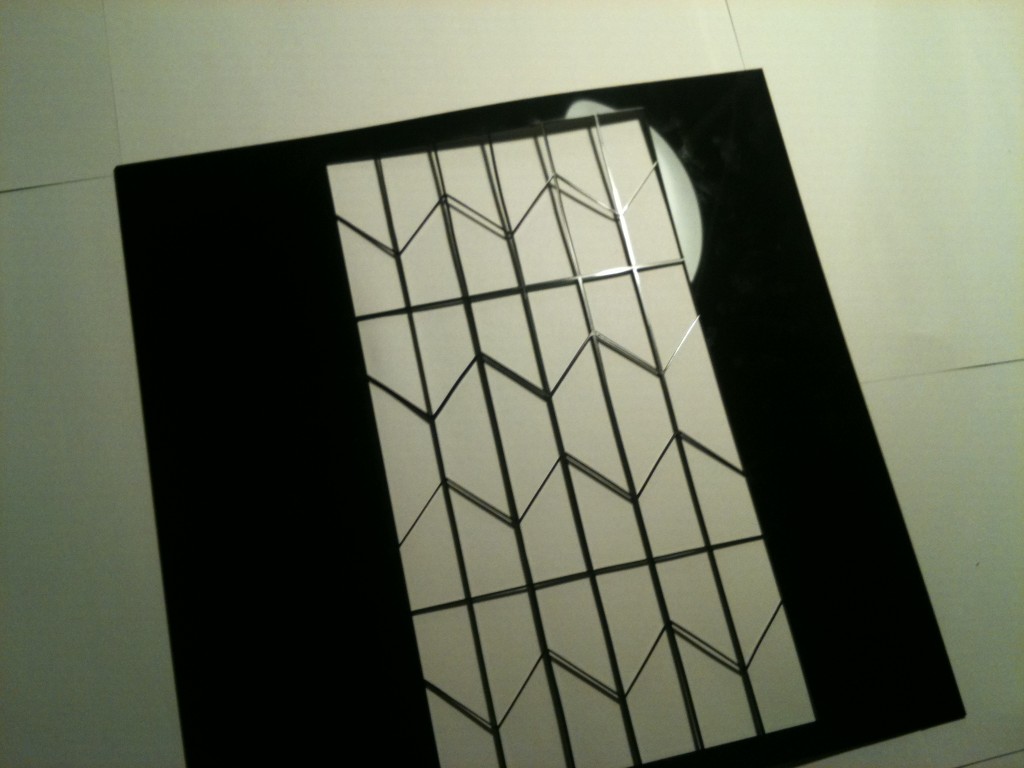
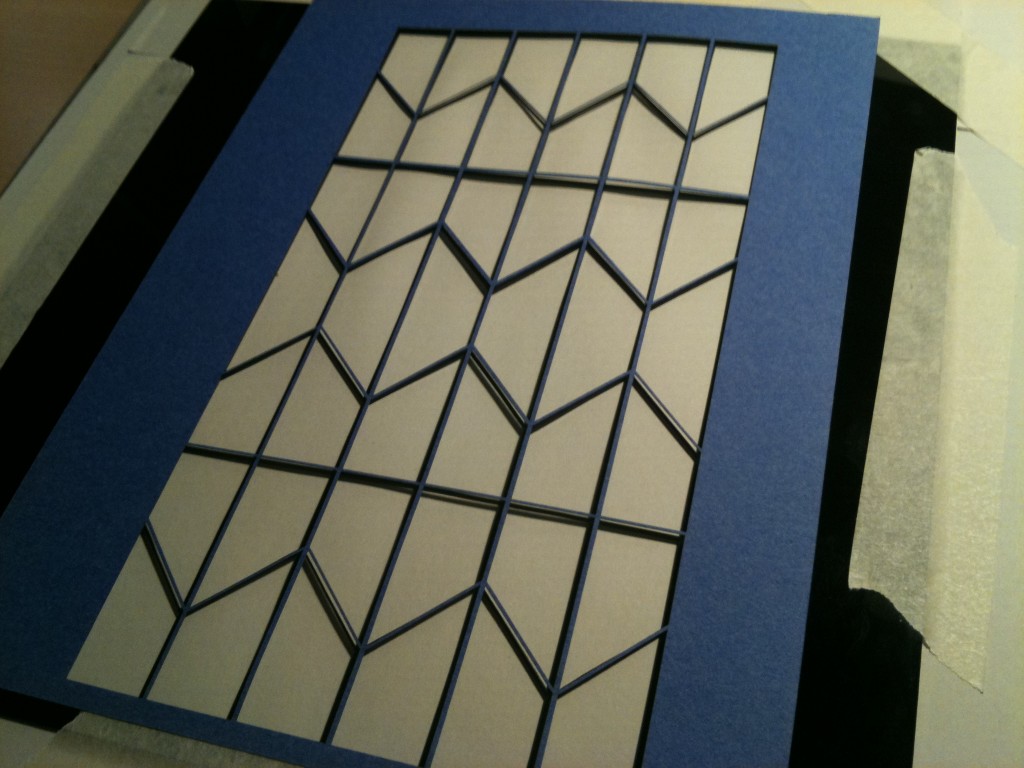
Then, I created a paper stencil to cover the lines:
I added all the pieces:
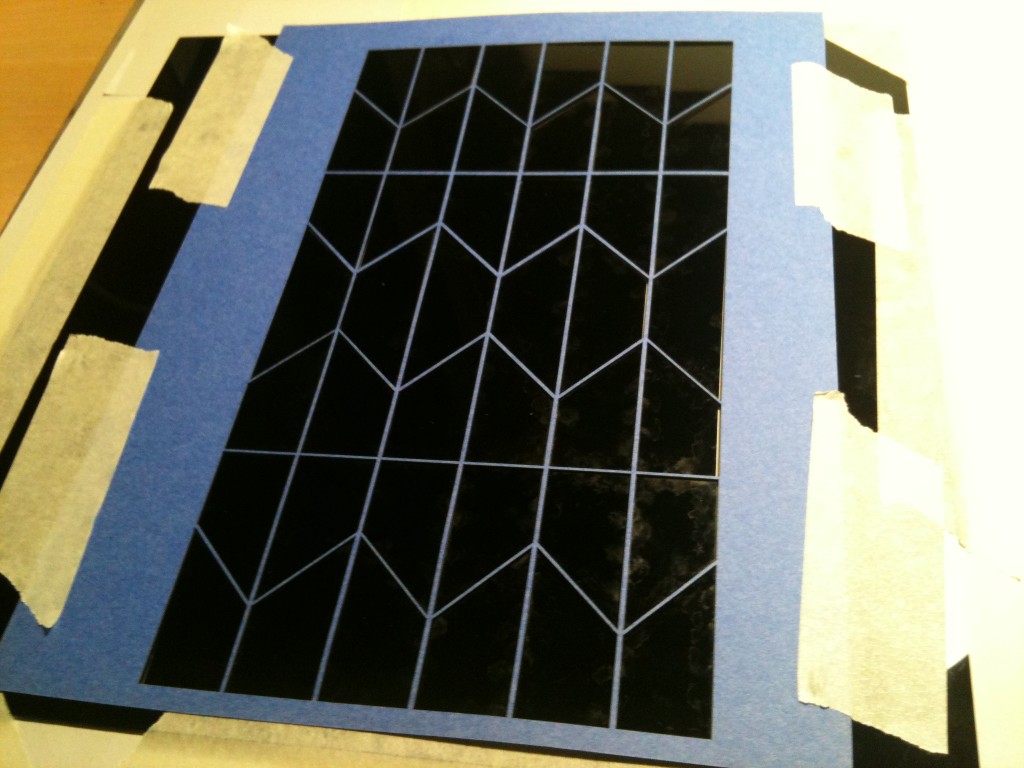
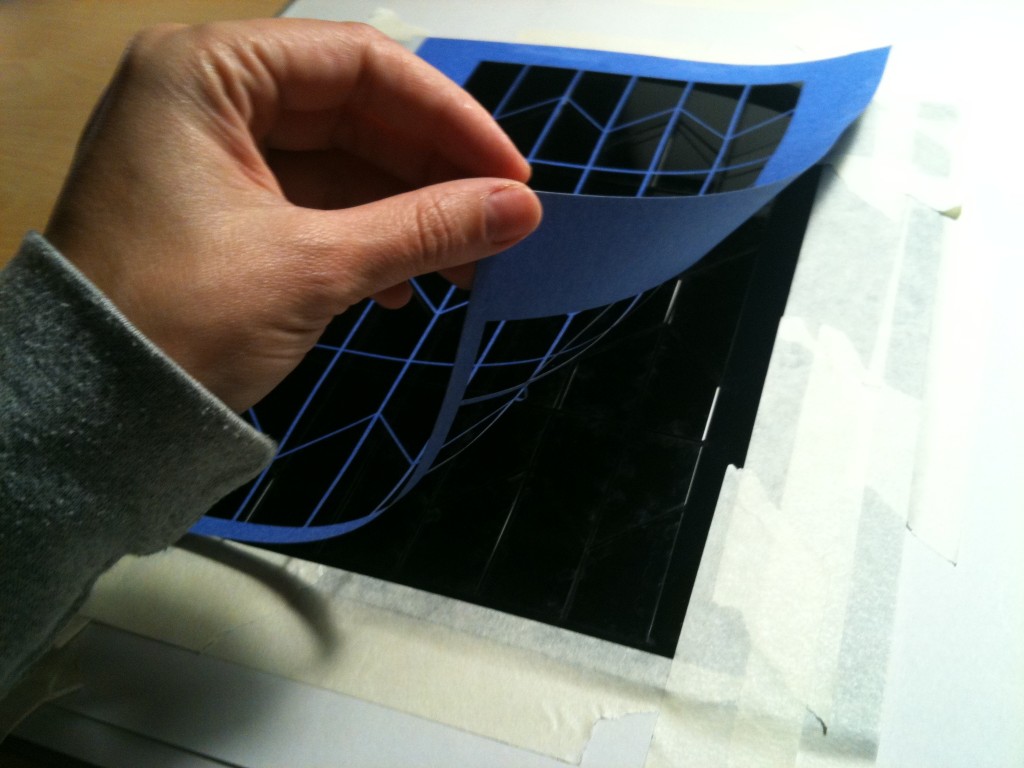
I applied the glue and got rid of the paper stencil. This way, the glue is only on the parts, and not in the lines between them.
And then, I put the fabric on top and applied pressure.
I repeated this process for the other side of the fabric.
Here is the final version:
