Parametric Landscapes
I wanted to create a textile piece whose design was created from a parametric approach. Working with textile is not easy as they have a behavior of their own. I worked with simple shapes to develop a work flow to eventually created with more complicated shapes and structures. This was a good decision. You will see that even with a simple pattern shape the creation of the physical object was not that simple.
Here is the mood-board.
Here is the mood-board.
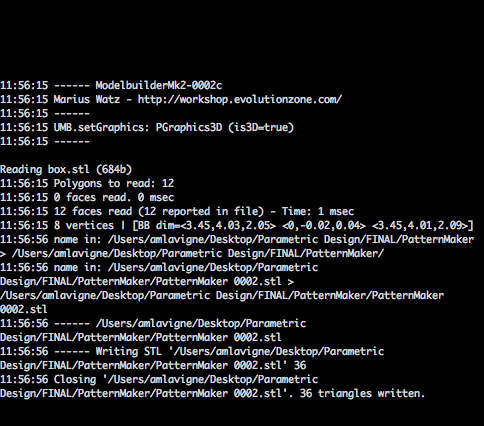
This class was taught by Marius Waltz who is currently developing a parametric tool called ModelBuilder which is a geometry library for Processing. Here is the first tests of the Pattern Maker sketch.
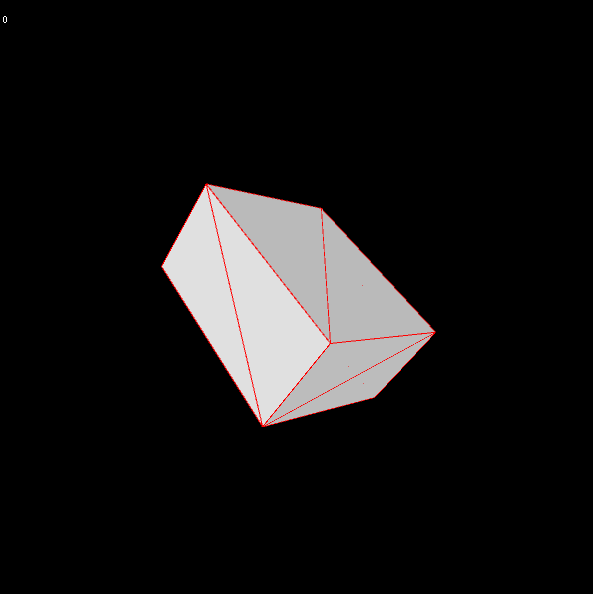
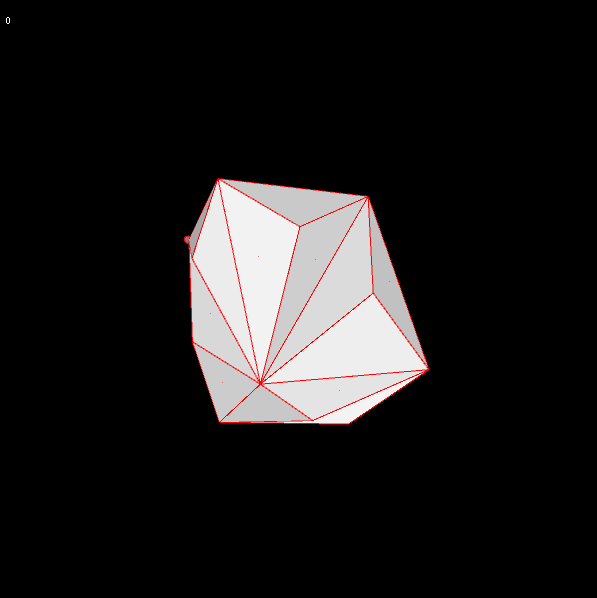
It starts with an imported STL. In this case, a simple cube to start.
It starts with an imported STL. In this case, a simple cube to start.
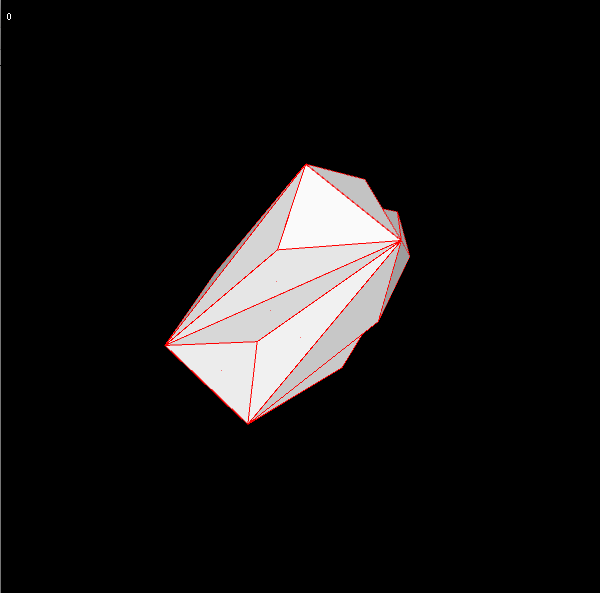
then I select faces and subdivide them and extrude them along their normals.
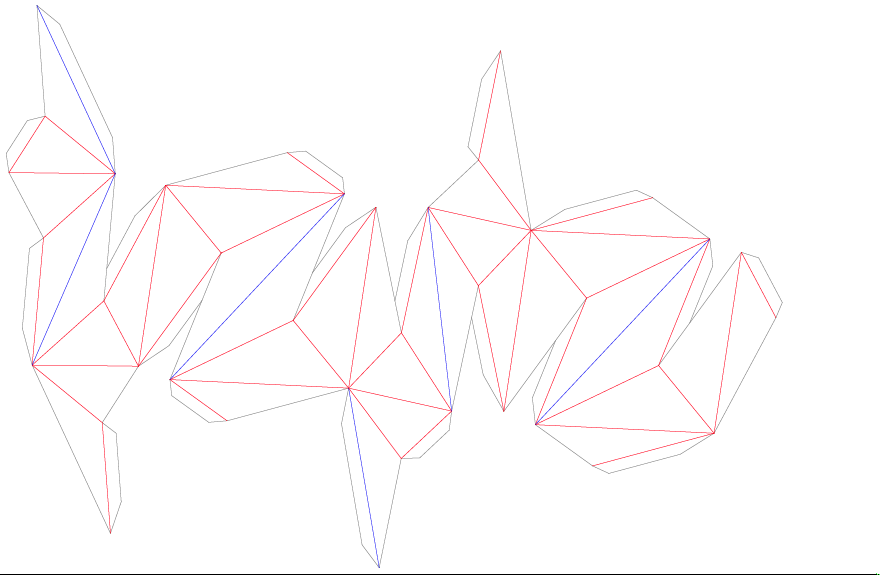
I use Pepakura to create a pattern of the shape.
I laser cut think doubled sided iron on interfacing using this pattern and ironed it in between two layers of fabric.
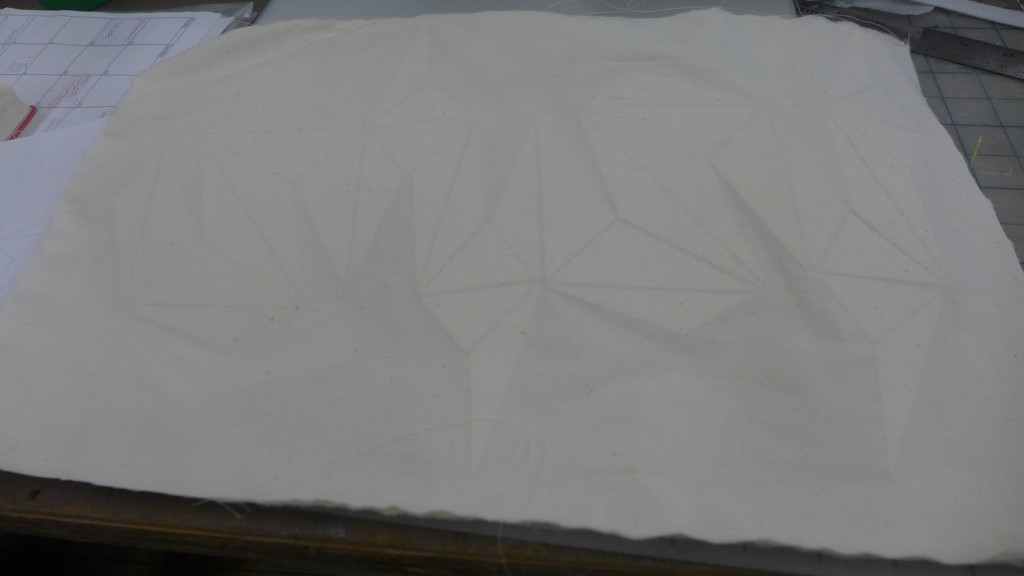
And then I sewed all the parts together.
Notes:
Nest steps:
I decided I would use the Modelbuilder sketch to create a quilt like surface, made of an assembly of fabric parts.
I first tried to work with a flat square surface of 10″x 10″. But when I imported the surface as a mesh, Modelbuilder recognizes the vertices and and the meshes. So the surface is already divided into triangles which limits what I can do with it.
Notes:
- the parts were too small. It was very hard to piece them together
- the final result does not look great. Probably because the parts are too small, but mostly because it is very hard to use the pepakura pattern to sew a complete shape;
- It is also very hard to “close” the volume. I could have done it with a seam on the outside but I did not want to so I could show the prototype on both sides.
Nest steps:
- use a flat surface in Modelbuilder, not a closed volume;
- the flat surface is a part, and the final shape will be an assembly of several of those.
I decided I would use the Modelbuilder sketch to create a quilt like surface, made of an assembly of fabric parts.
I first tried to work with a flat square surface of 10″x 10″. But when I imported the surface as a mesh, Modelbuilder recognizes the vertices and and the meshes. So the surface is already divided into triangles which limits what I can do with it.
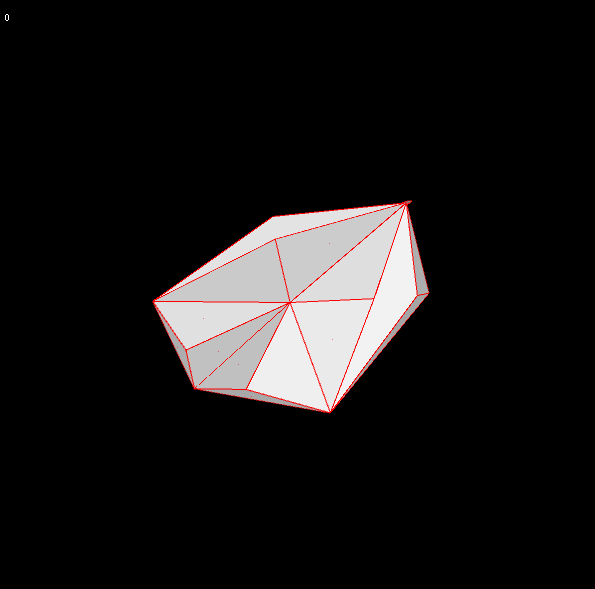
If I select some sections and apply the subdivide() function it will take these triangles and divide them again and then will translate the center point along the normal. The faces become too small. so the best option was to select them all and divide them all a the same time.
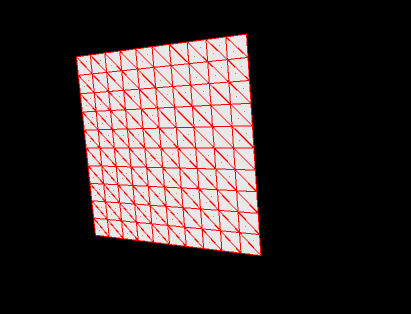
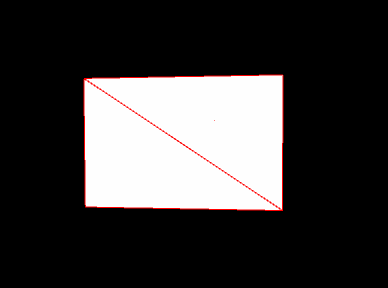
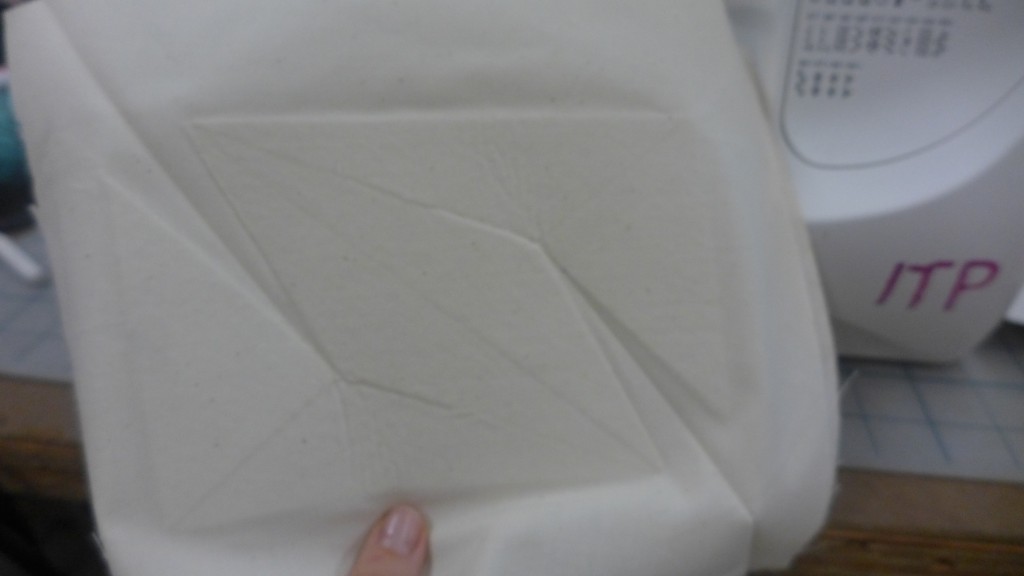
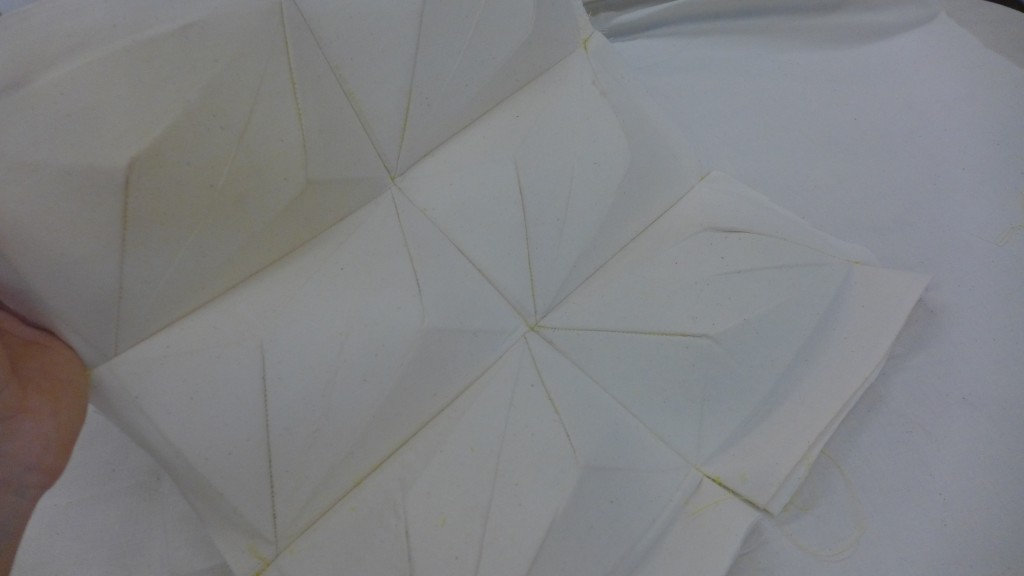
So what I did was to use a rectangle. When opened in the sketch it is divide in two triangles.
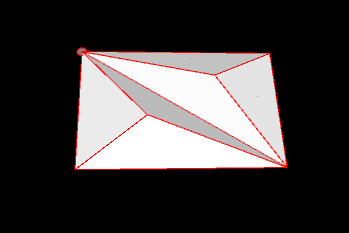
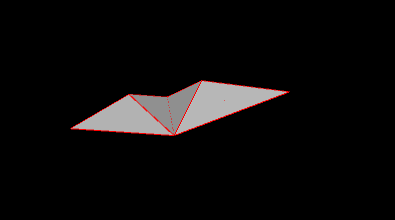
And then I applied the subdivide() function. It created a nice 3D shape I could create with textiles.
So I decided that I would experiment with this to see how the fabric would act with this pattern. I once again used Pepakura to create the flat pattern:
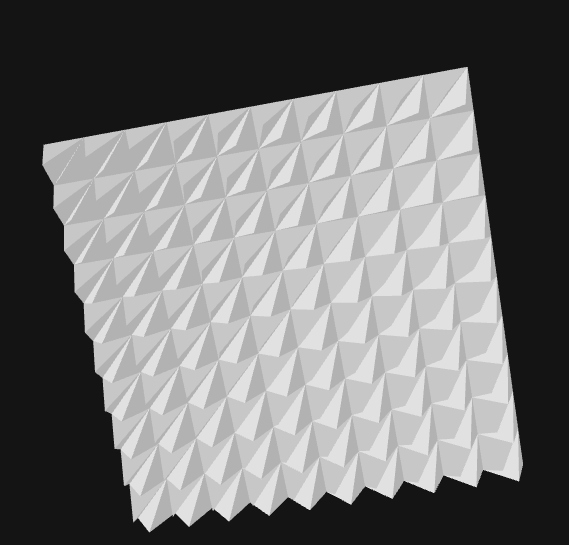
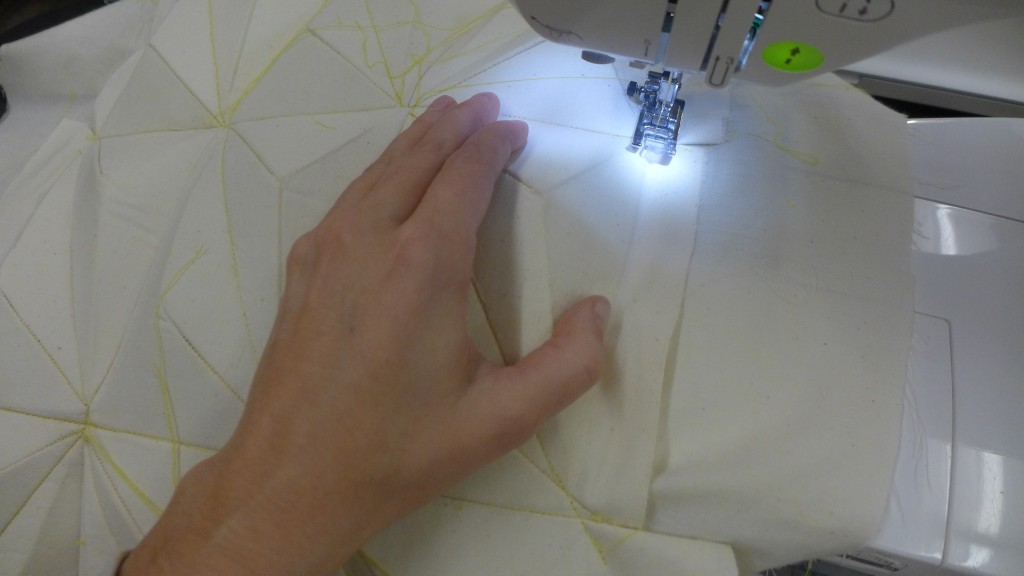
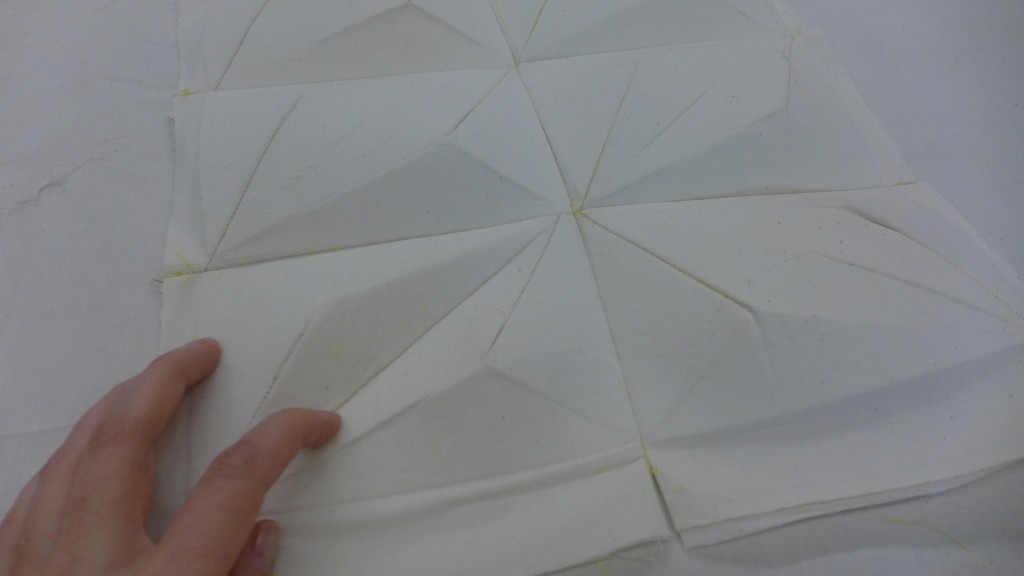
When sewed together it creates a nice 3D surface that can be transformed and manipulated. I assembled several of them together.
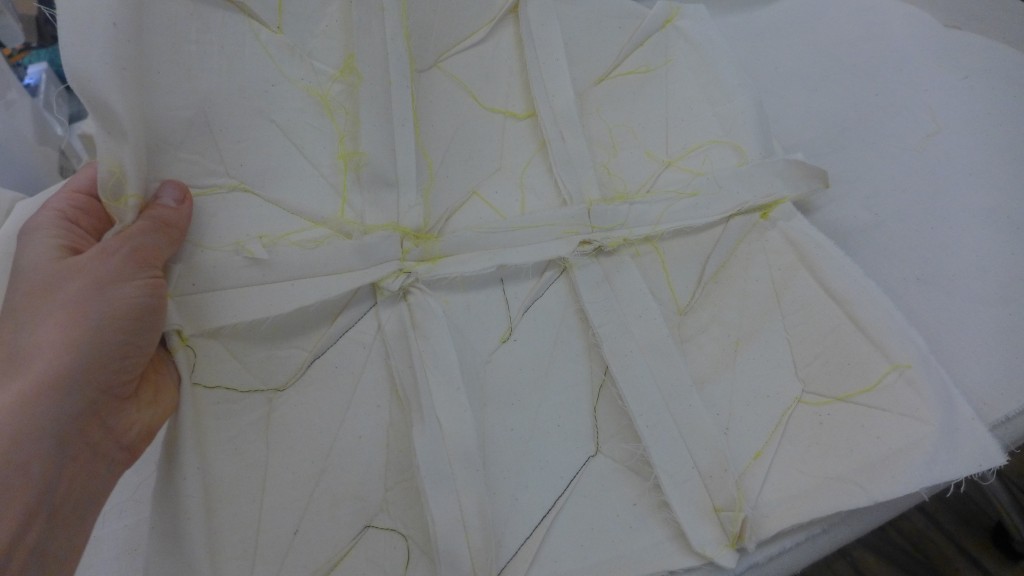
It created a nice quilt like surface.
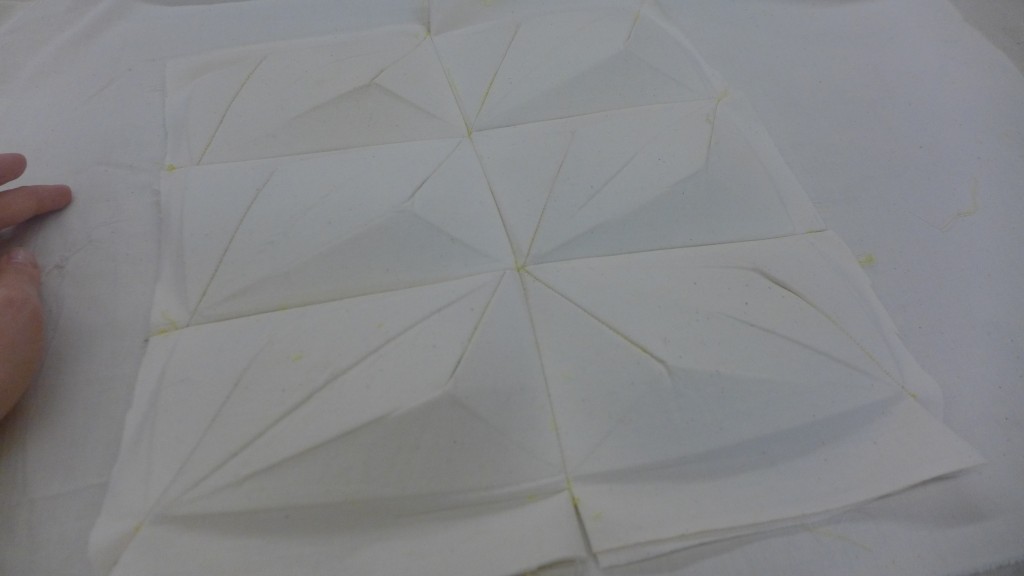
So for the final, I will use this approach. It works well with fabric. I will see what I can come up with.
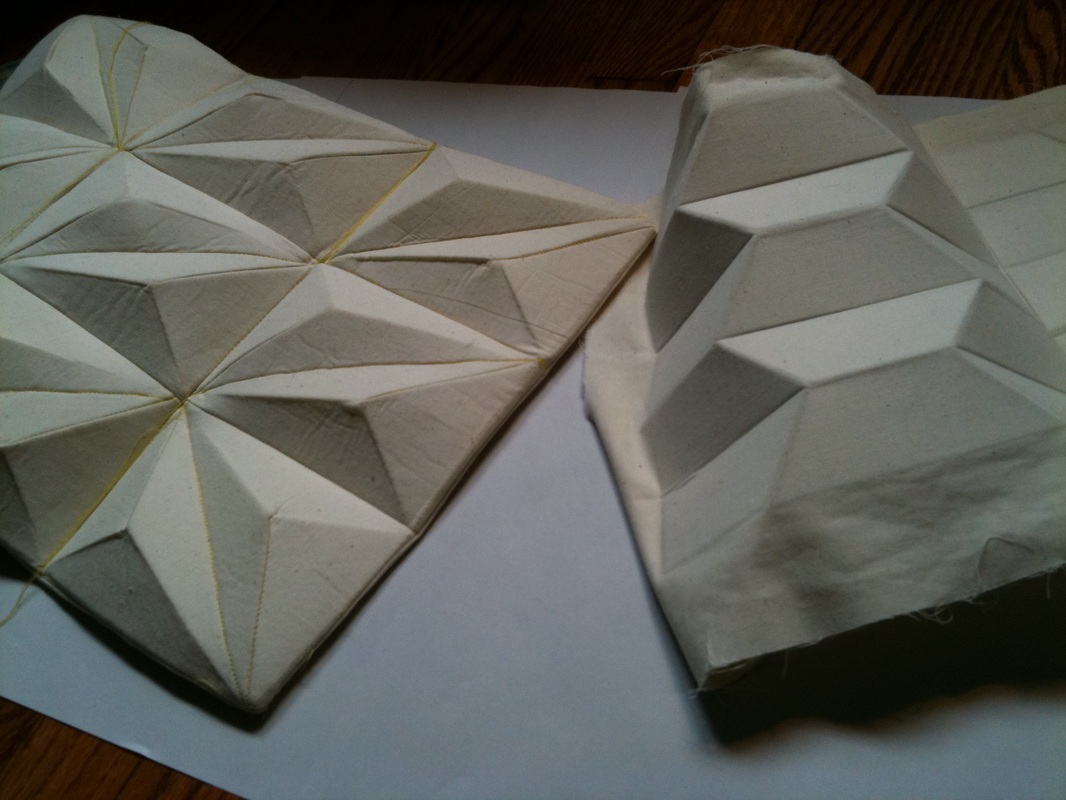
Here is the final version for this class:
